
FOYER: Day 6

Yesterday.
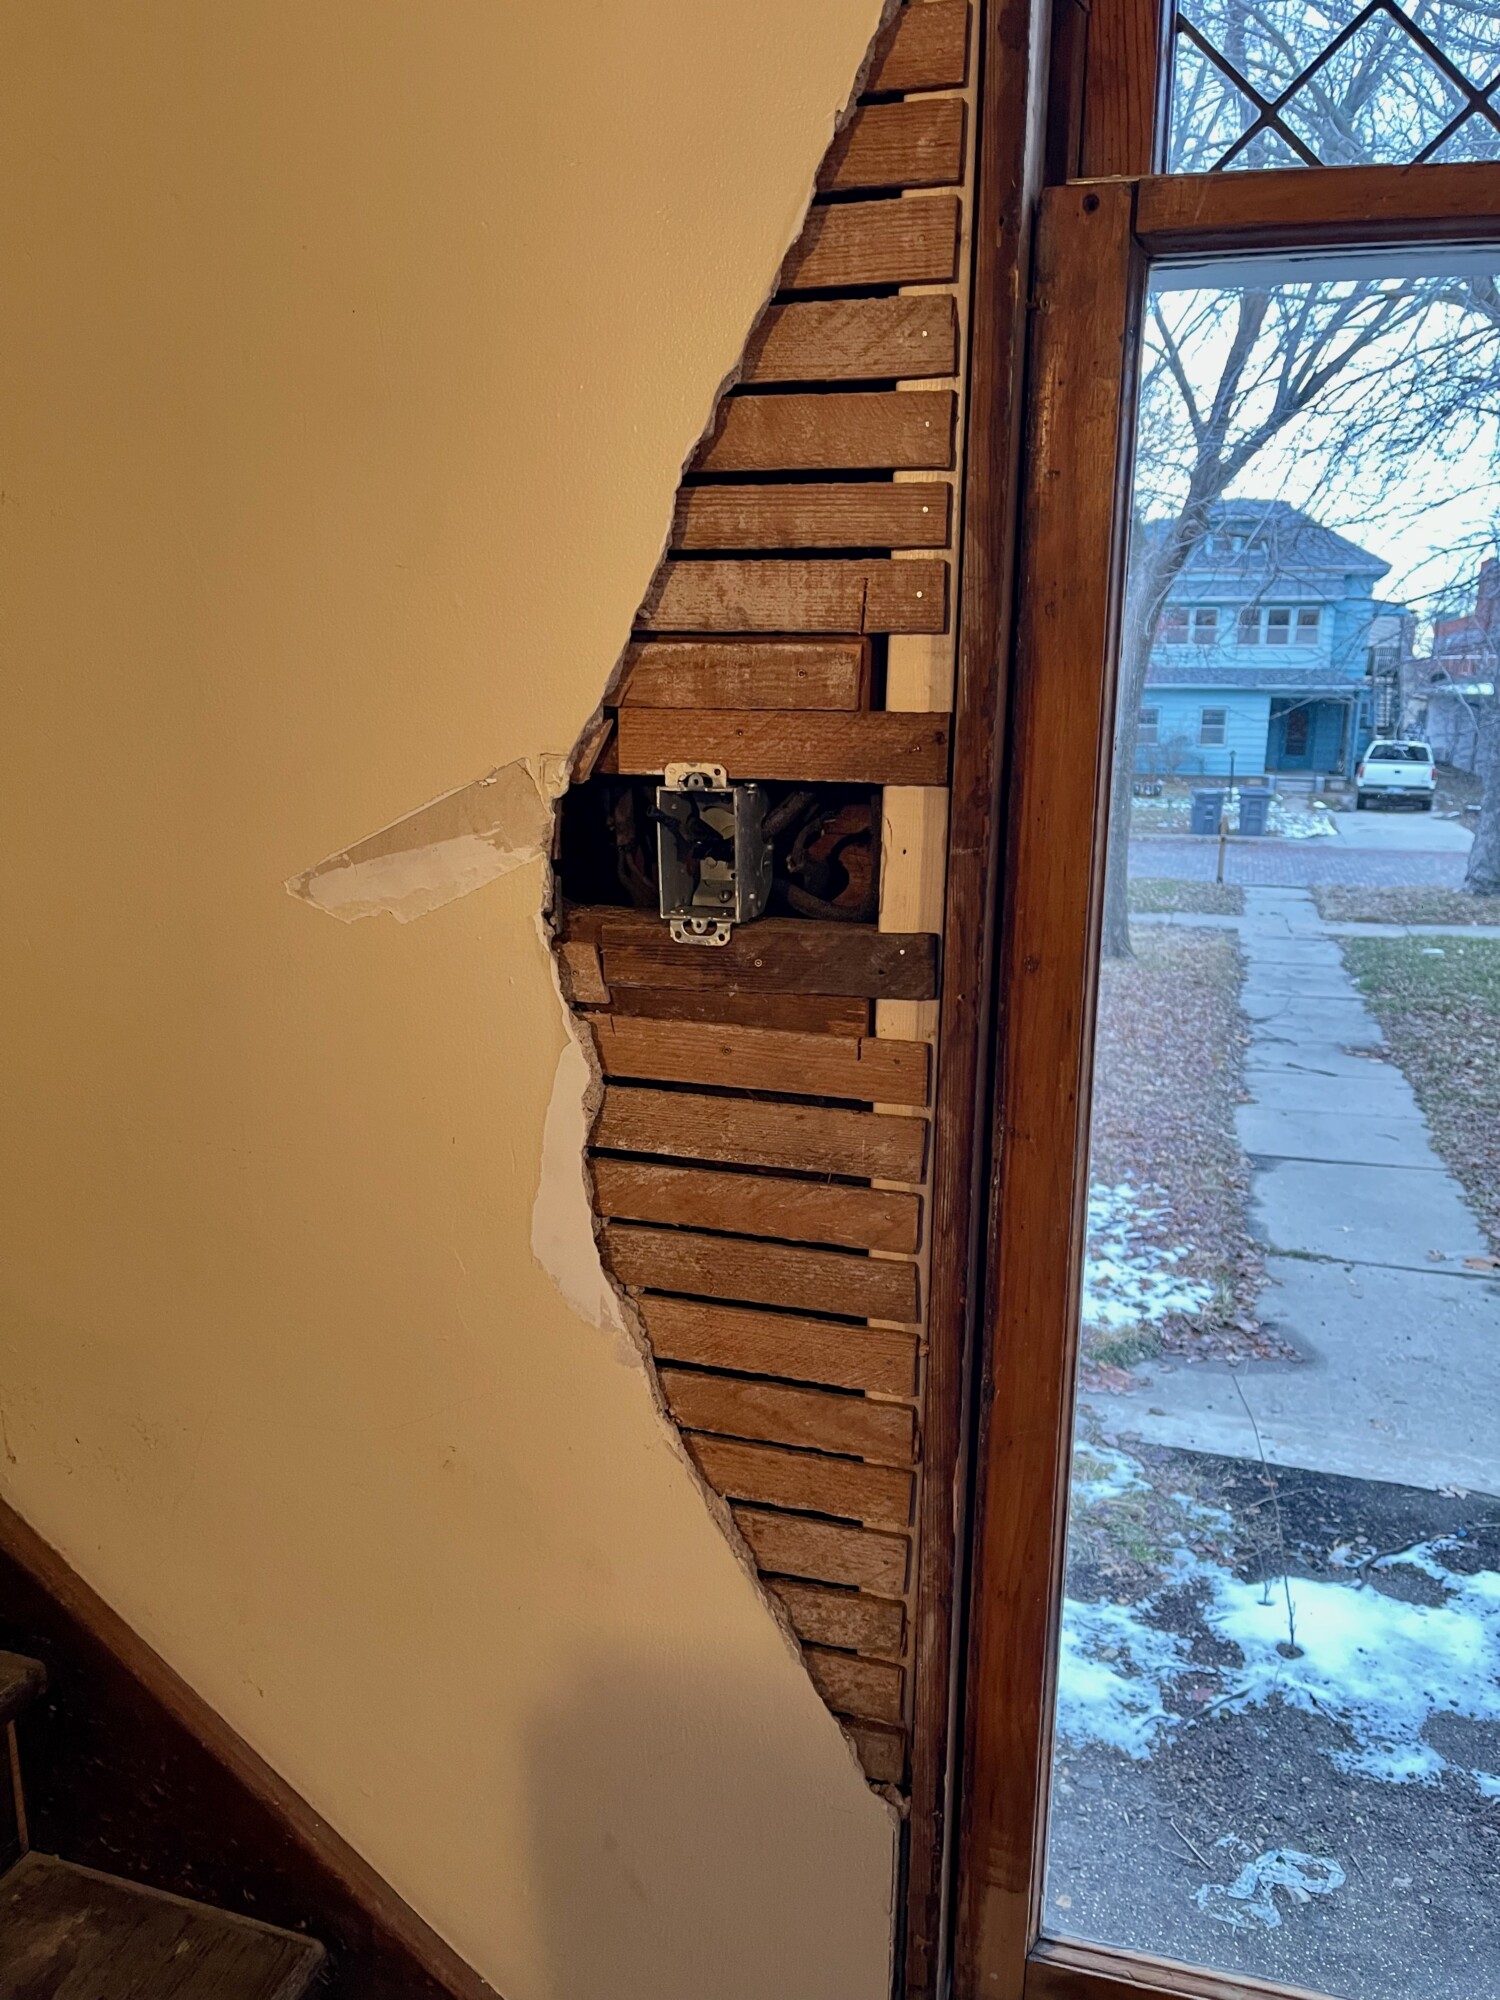
Today I had to do something about 6 old wires in the wall. It developed that 4 were dead but…yikes…2 were live, and connected to the upstairs hall light. The basement and first-floor are fully rewired but the second floor is still a mess. So, for the moment, I put the live wires in an electrical box. I also had to nail down the lath (right).
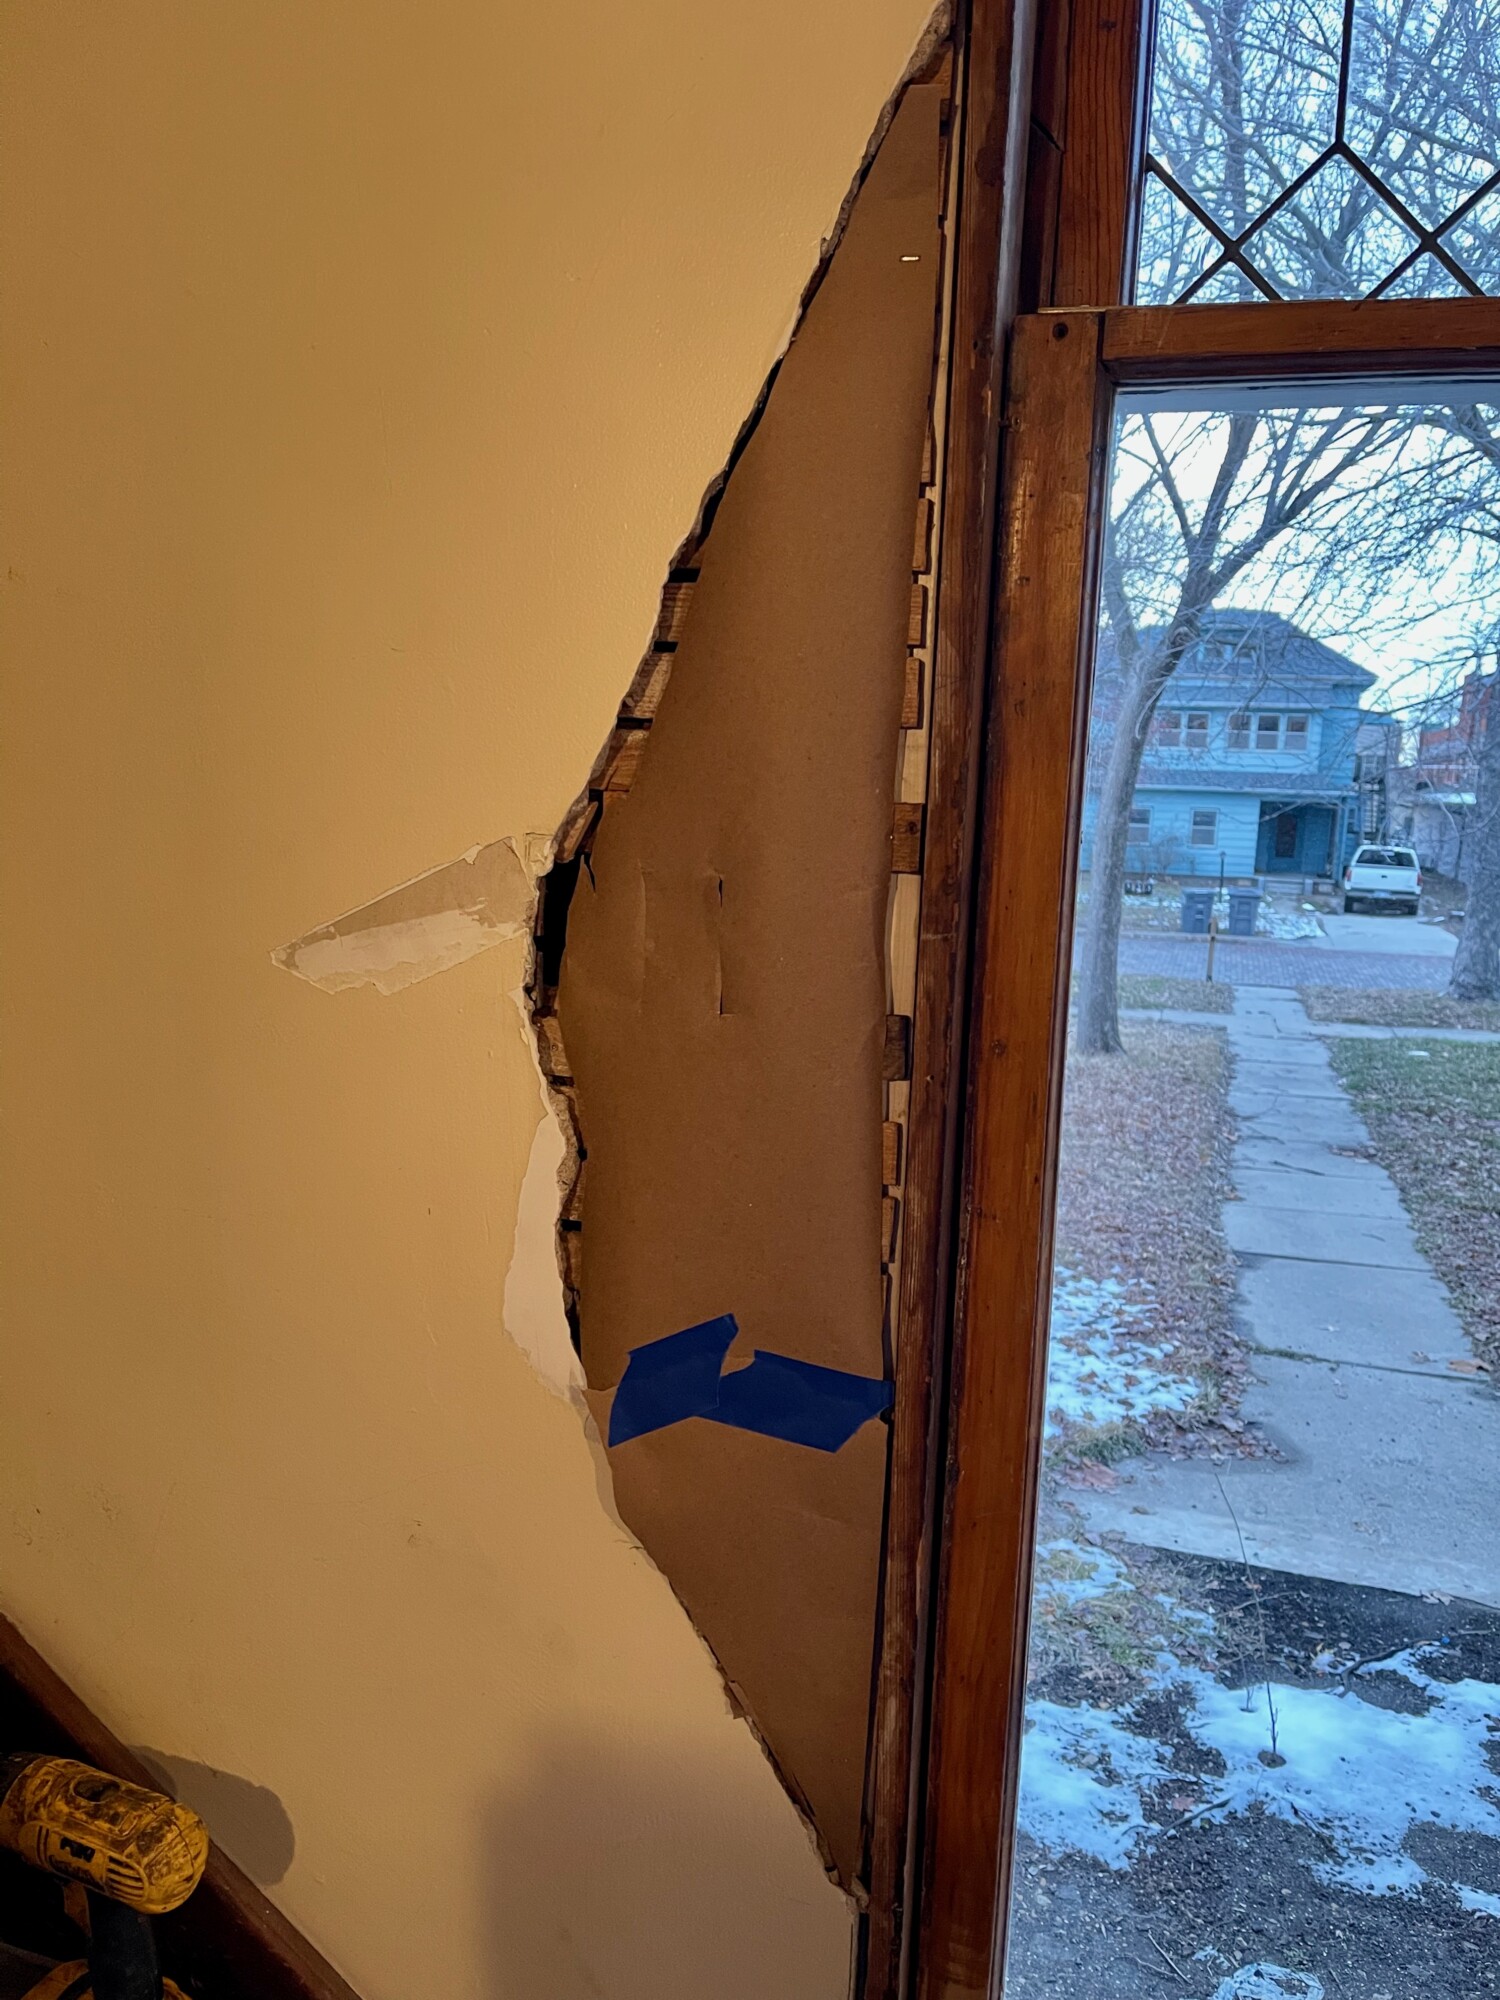
Using some paper, I made a template of the irregular missing plaster. The edges of the paper curled and were neater than it would seem here.

And, a hard job was made easy. I used a sharp utility knife for the first cut (to avoid a shredded surface edge) and then a sheetrock saw. I will infill with Rock Hard Putty. The small window (left) is a second-floor transom, restored 2 years ago.

7 Comments
Leave a Reply Cancel Reply
Your email address will NEVER be made public or shared, and you may use a screen name if you wish.
Yikes, I hate when that happens. Old wiring is the pits as usually the person that did it didn’t do it neatly and logically. Twice I’ve almost been electrocuted, once because an electrician failed to redo the wiring as I told him and the wire I *almost* cut was the main one from the house to the garage. I was going to cut it with bolt cutters but decided to call him first. Close call.
You are a better man than I, Gunga Din. I would have just put plaster on it layer by layer and then sculpted it and then sanded it and cursed the entire time. But of COURSE you make a template and then cut the drywall to fit.
I see the snow has melted.
The maze of electrical wires, solved here. The plaster solution was great. Thanks for the tip.
Nice Job!
greetings for the new year Ross. For what it’s worth, I have a little trick I use to create templates for broken out plaster like that. I get a roll of single ply corrugated cardboard from a shipping supply house; like this: https://www.ebay.com/itm/295733525672 then I cut a piece that covers the area and line up the straight edge like along the window in this case- then I press firmly along the edge of the broken plaster and it crushes the corrugation along that edge and makes a line to cut out my template.
Great tip, Mark! Thank you!
Let me get this out before I forget—
Here is something to ponder through on an off-date night–
I don’t know if you have Instagram–You can always create an account and not use it–
Vintage Houseplans:
https://www.instagram.com/vintagehouseplans/?hl=en
Ross, I have had great luck patching lath & plaster in much the same way, by applying a bridge/patch of 3/8″ drywall over the lath. However I’m not sure I would use Rock-Hard. I have had great luck with “hot mud” or “setting” type joint compound (I like the 30 minute). The plaster of Paris in hot mud will bond with the existing plaster and has similar density and expansion. I have made dozens of patches over the years, frequently without paper tape, and not had the original crack line translate through. Even after a couple earthquakes. My fear is Rock-Hard is too different in density and a crack will come through in time.