
THE OTHER HOUSE: 3
So, last November I revealed the house I actually live in.
I decided to make the house my own Project 2025, and work on it every day, even if only just a tiny bit on some days.
I have not been wholly diligent about this but progress has been made!
When I moved into the house, stone broke, in 1996, what is now the kitchen was just a large, narrow room built in the 1970s. I was told Mrs. Lawrence slept in a small bed in the NE corner.
The room was as expected of the 70s: cheap clamshell trim, hollow core doors, and yellow sheet vinyl flooring. Oh, the horror.
During the ensuing years I slowly redid the room and turned it into a workroom with a sink on the west wall, and a worktable on the east wall.
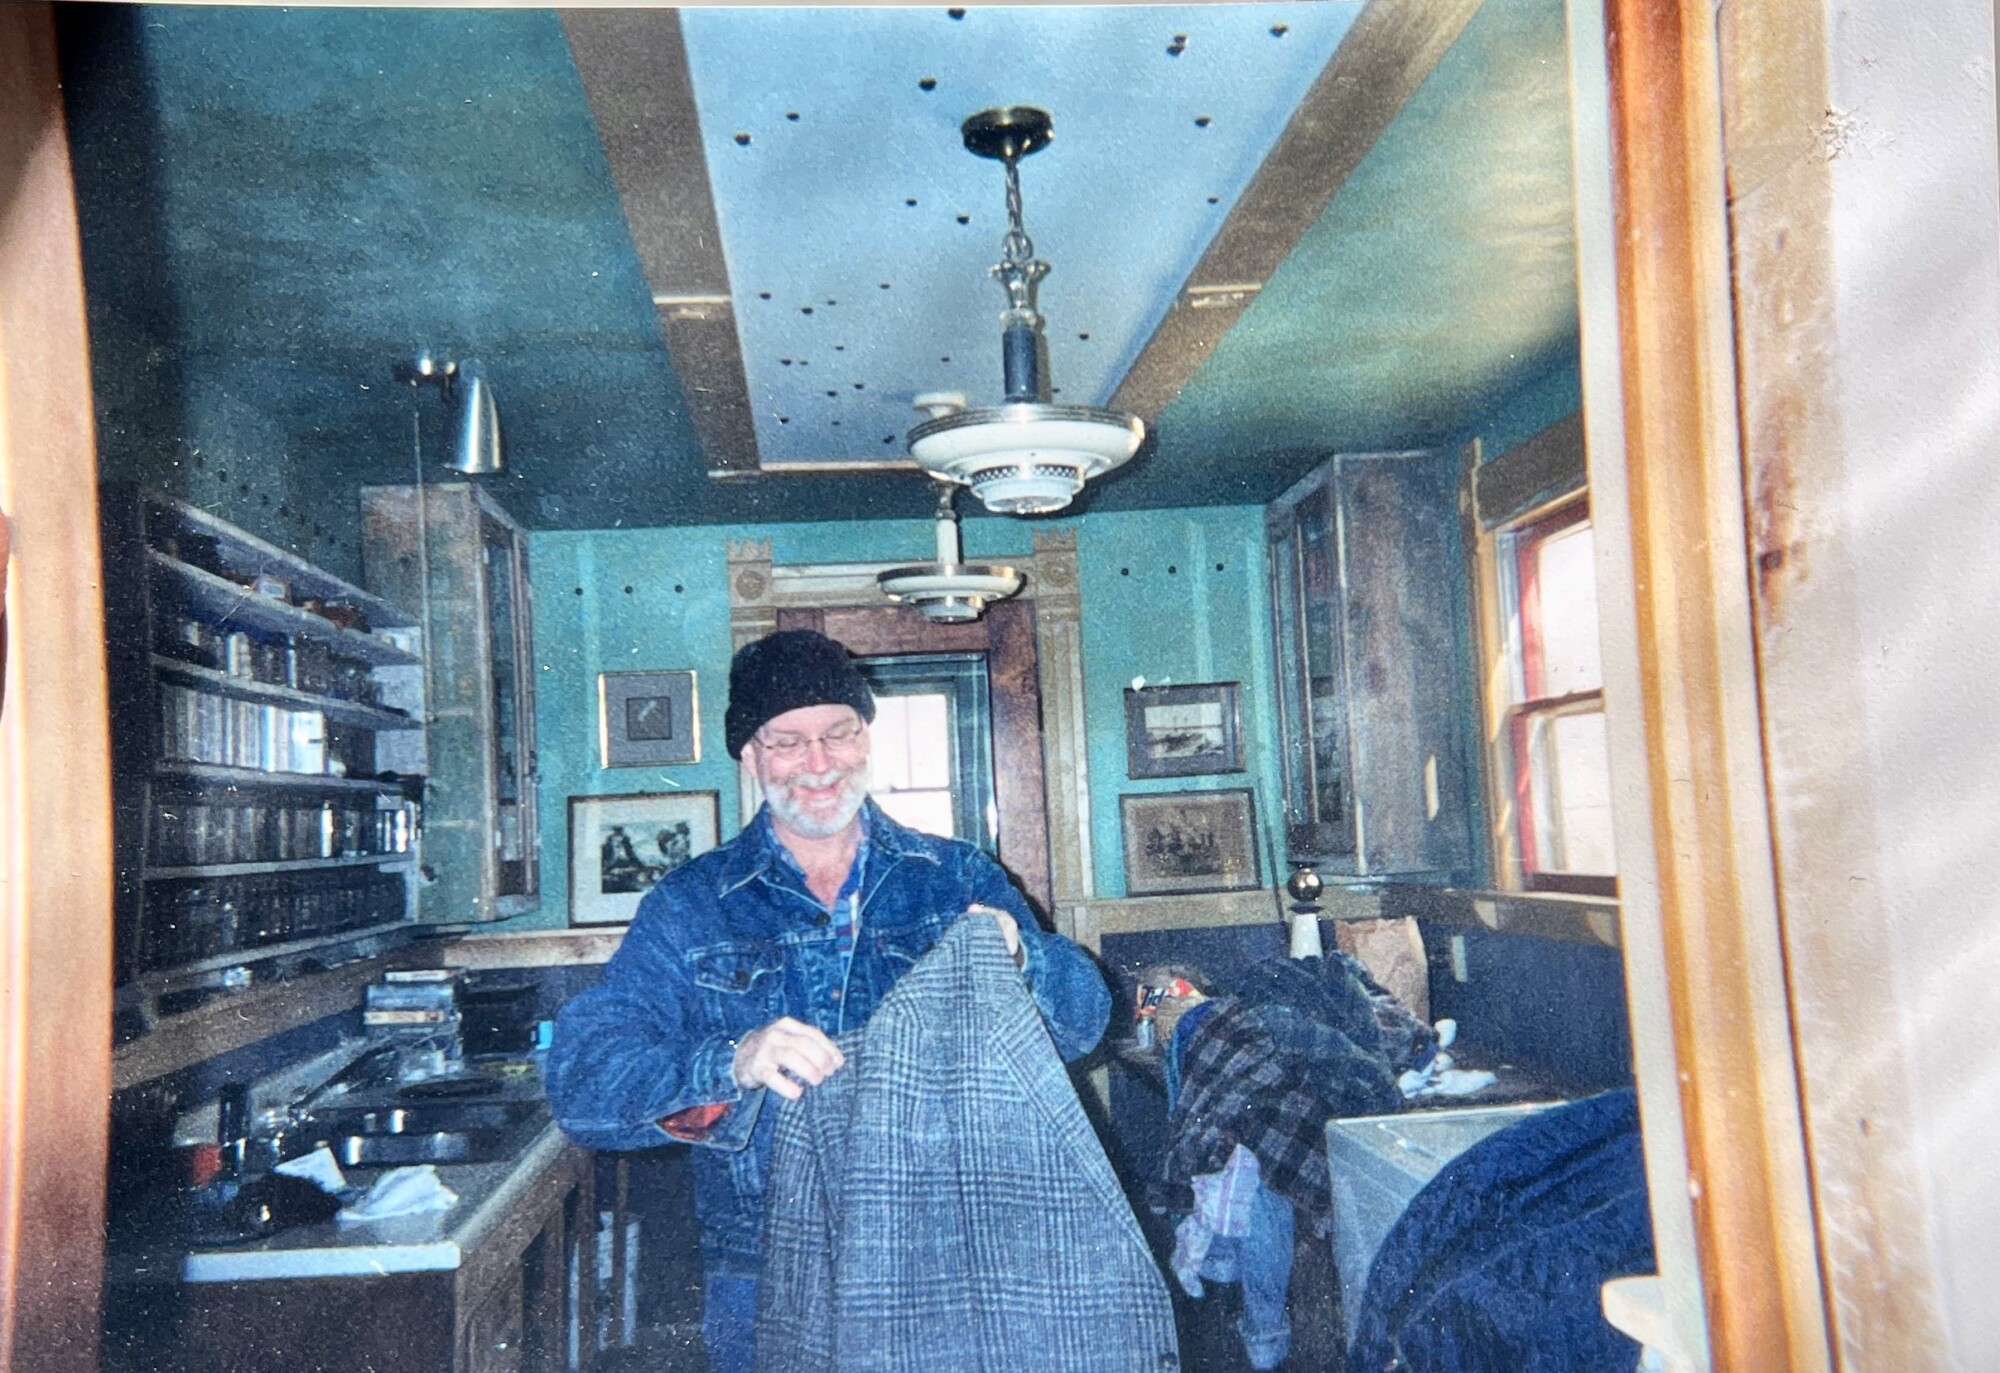
Looking north (click to enlarge). The lower walls were covered in beadboard plywood and finished in dark blue. Above that I installed salvaged door/window trim. I made a border on the ceiling and hung a pair of 1940s pendants. Brass stars dotted the ceiling, as they had once in the bedrooms of my huge duplex apartment in NYC. It was surreal seeing them in such an unexpected location in rural Kansas. I could never have predicted such a shift. The door is the background is something I created to connect the room with my new office. Curiously, this image shows an actual door in place, of which I have zero memory of. The two upper cabinets are now at the Cross House, and will be installed in the Servant’s Stair, above the basement landing. I later sold the pendants.
At some point in the early aughts, I embarked on a rethinking of the whole house which was initially done on a budget of $1.98. I yearned to go from Hooverville to Park Avenue. I also realized that the narrow dimensions of the 1970s room would lend itself to a great kitchen.
Thus, I tore out almost everything I had installed just a few years previously.
While in the middle of The Great Undertaking, something greatly unexpected occurred: I purchased the 1894 Cross House, threw myself into this exciting project, and The Other House was abandoned.
Until my own Project 2025.
Wanna see?

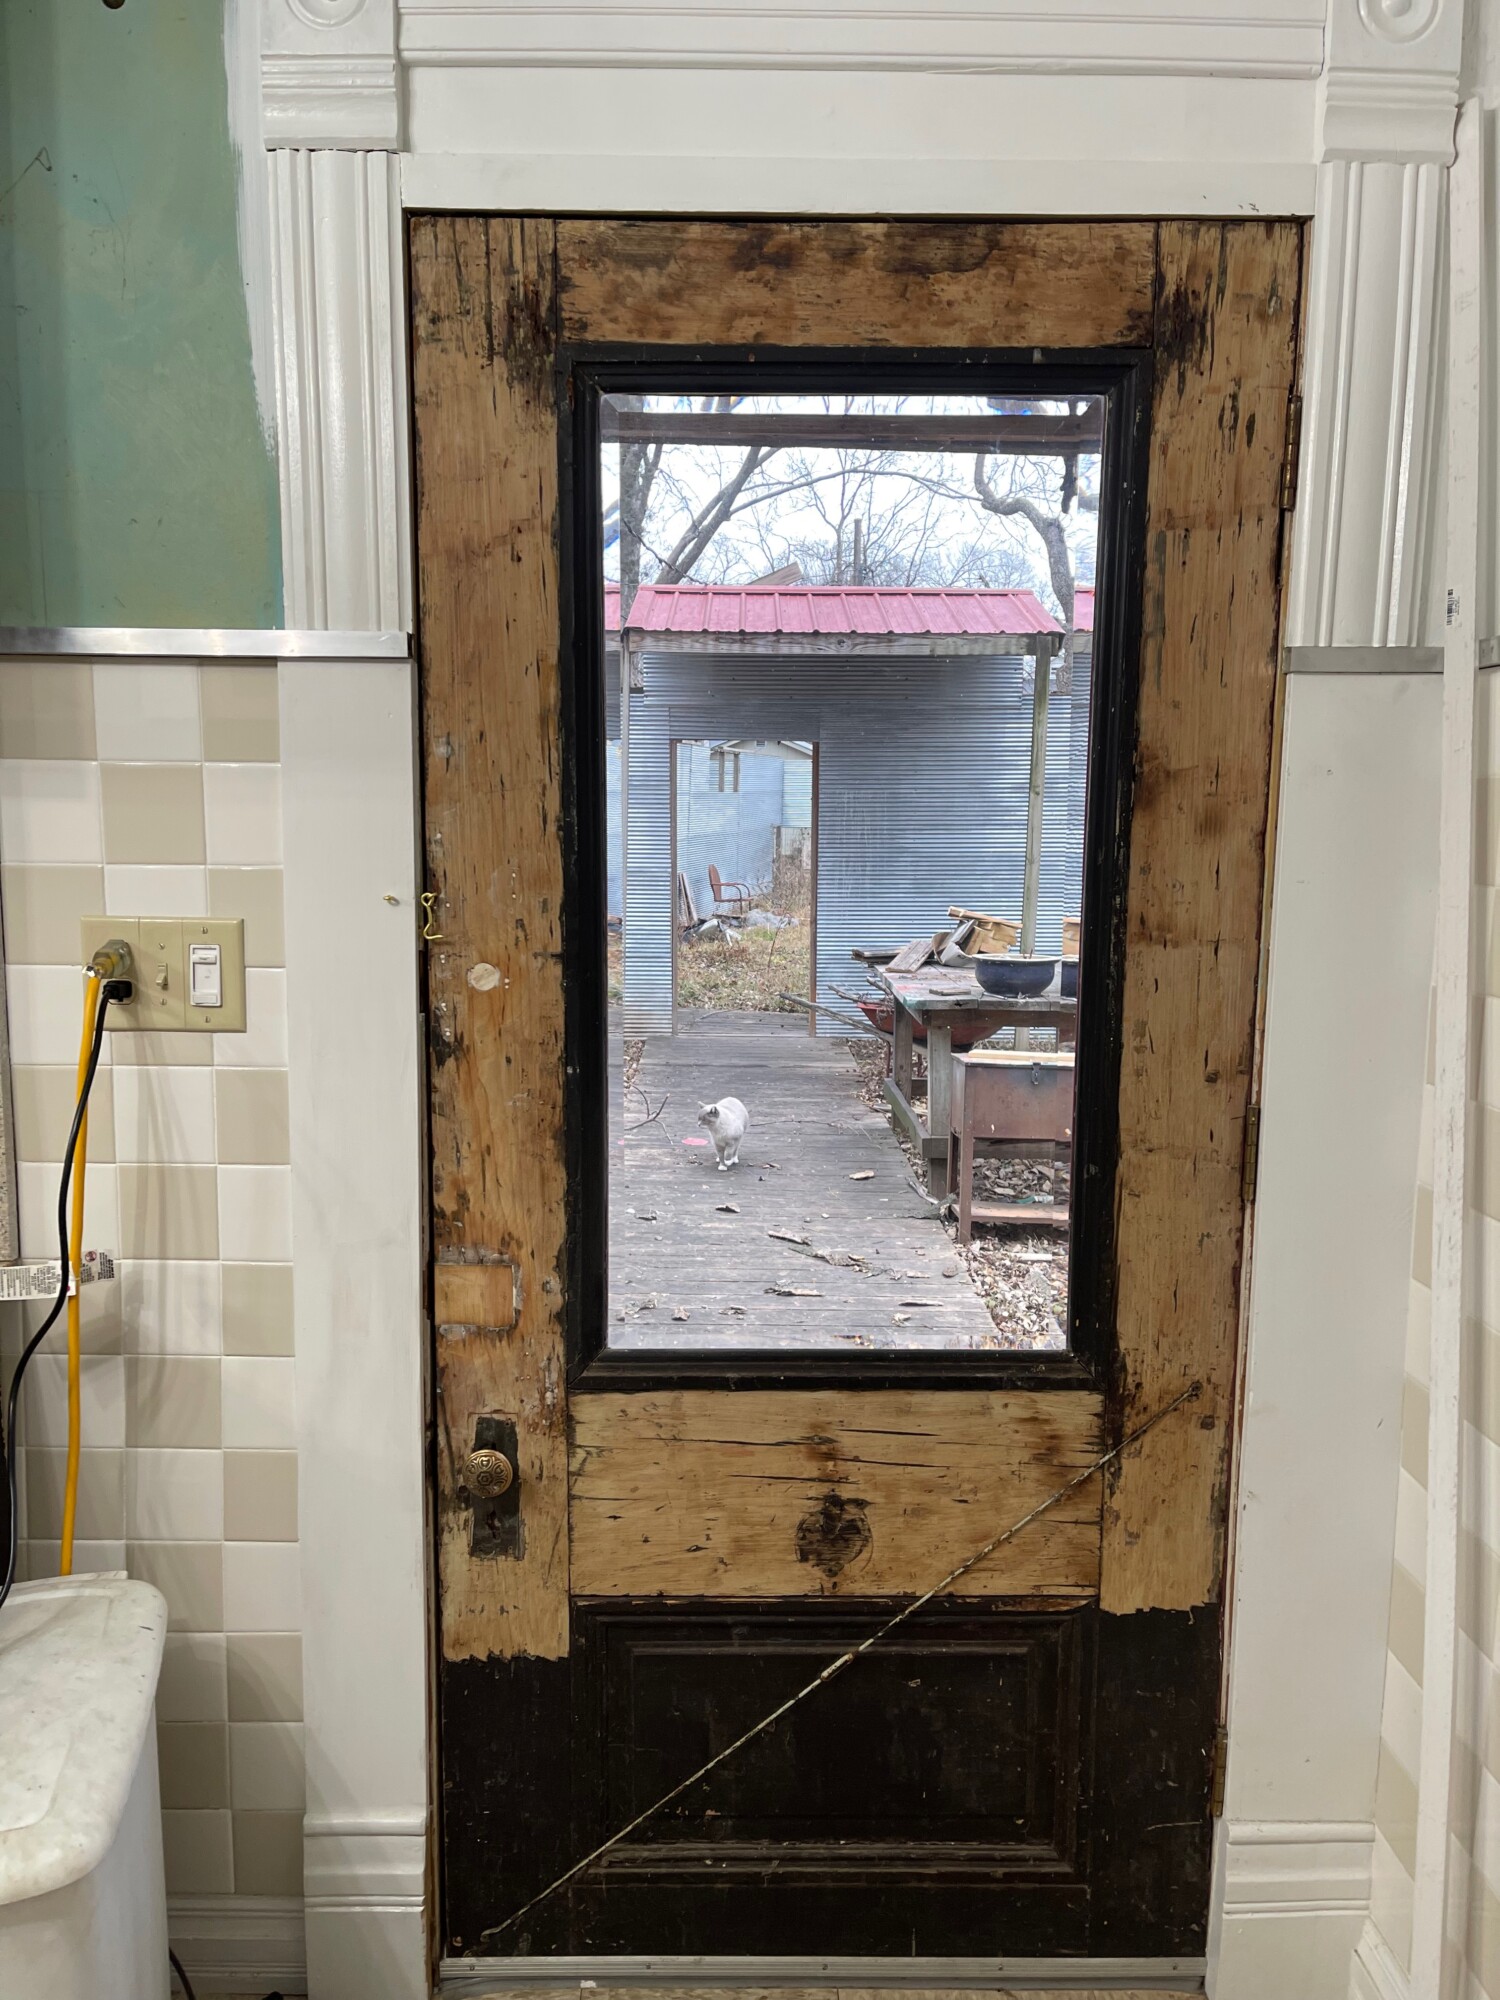
The rear east door. In the 1990s I found the door in a salvage yard. The glass is beveled. I restored the exterior way back when, but did nothing to the inside face. So, I have been looking at gloppy old paint for like a quarter century. Here is the first Baby Step in removing the paint. Note, too, how the surrounding walls improve.

.

.
.

….and it has been paused like this for months. BAD Ross! But, think of how thrilling the final reveal will be!
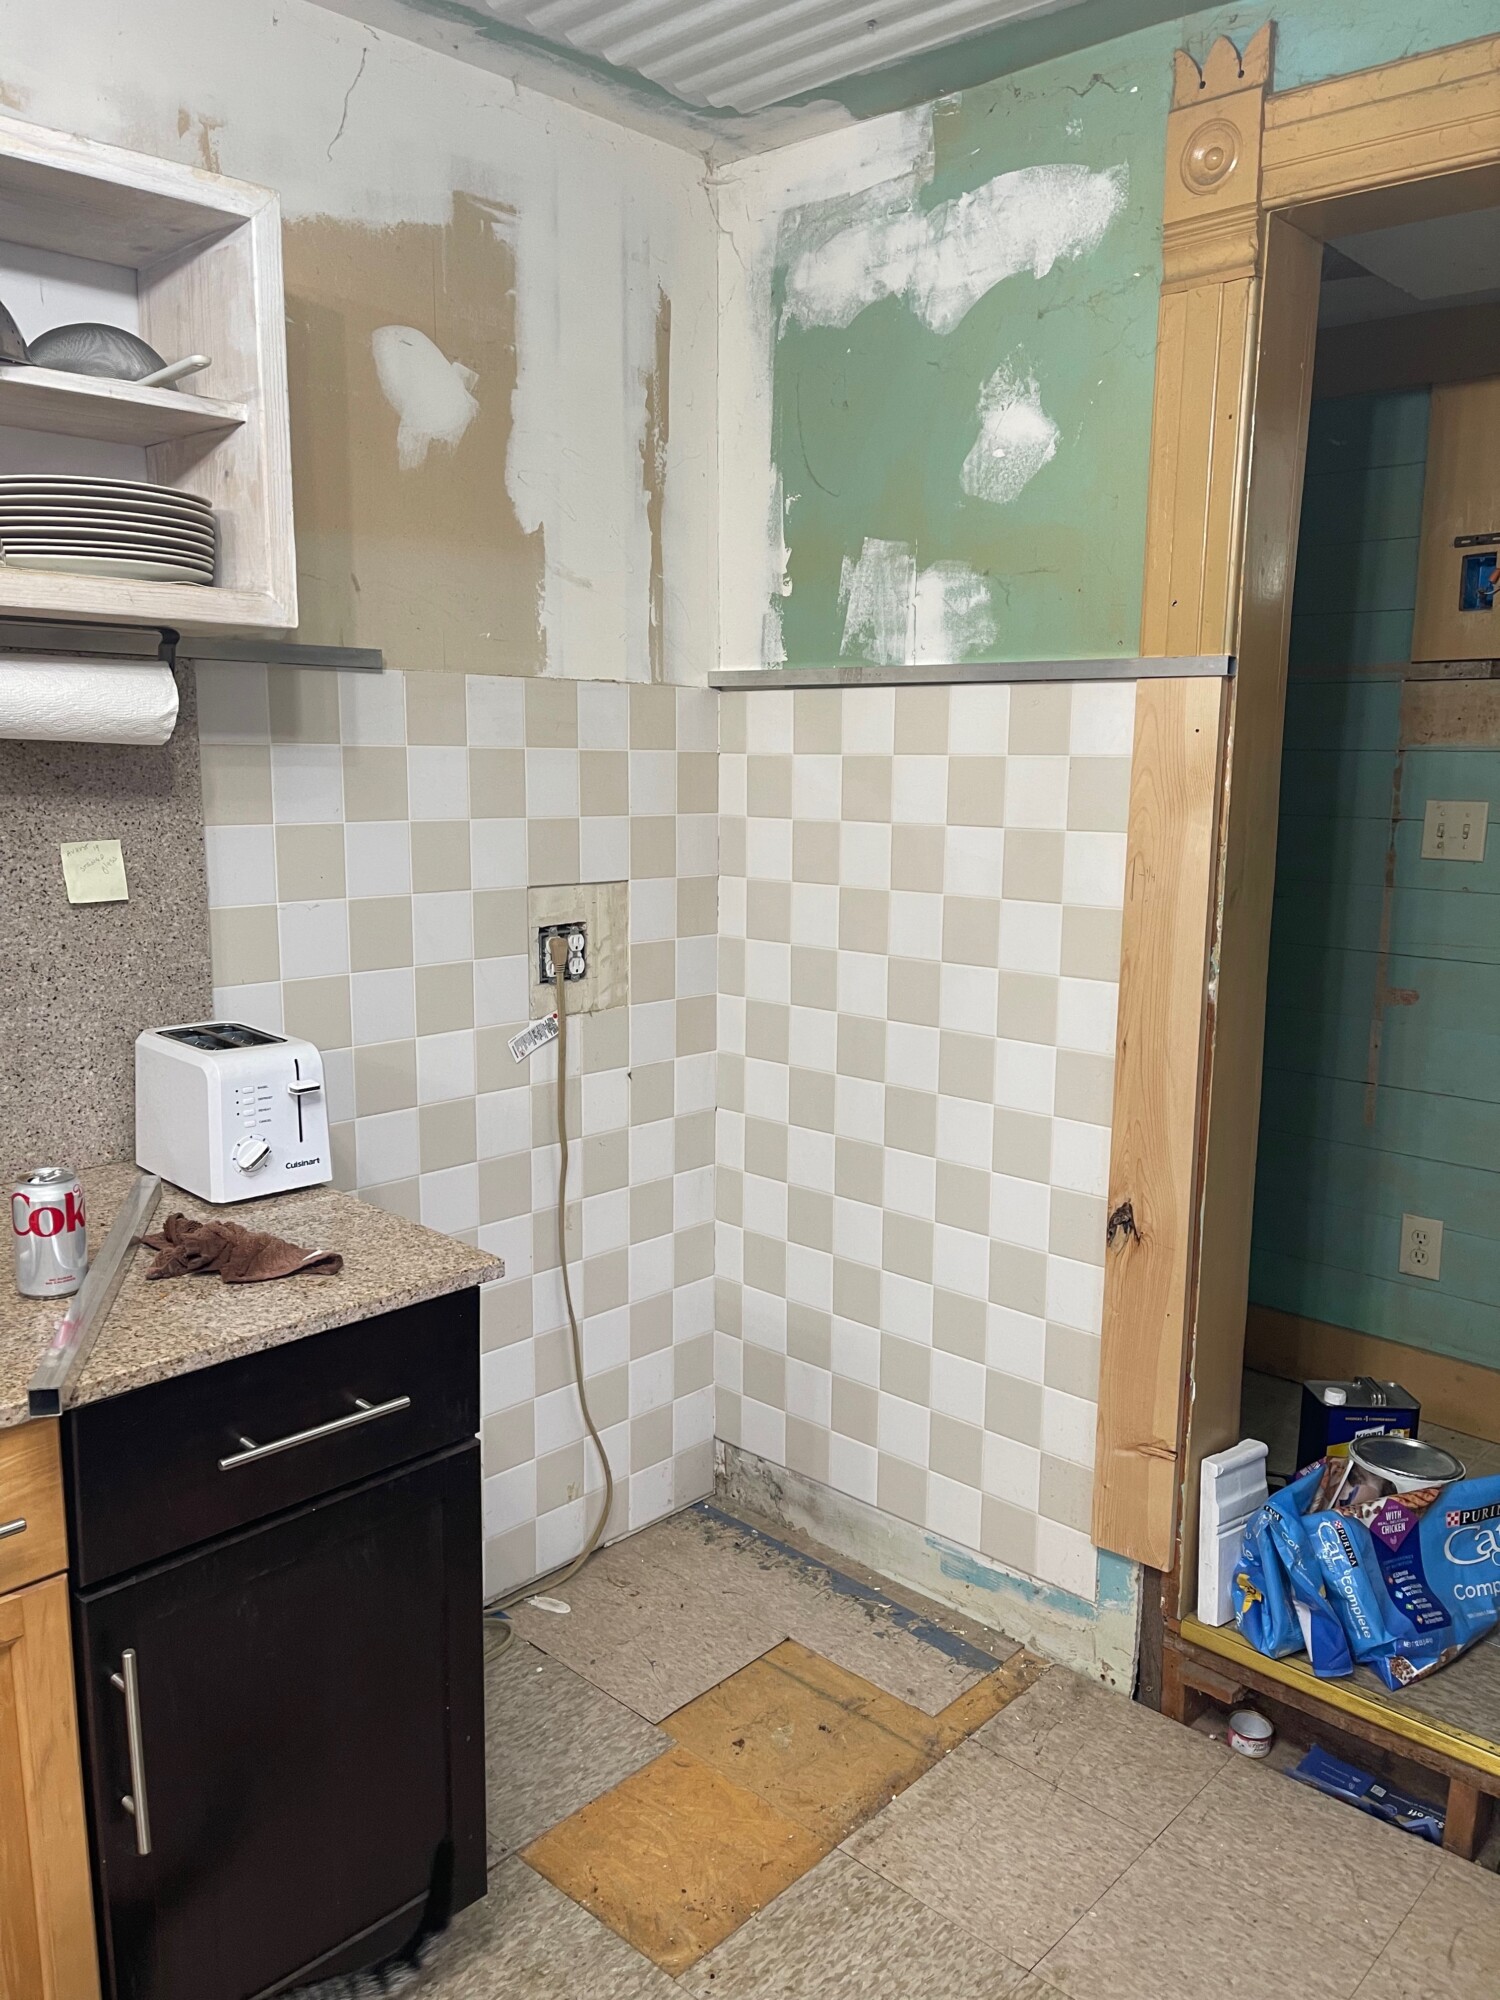
Behind the fridge. It was like this since about 2009. Shocking. But, out of sight, out of…

And now. That is either a snake on the floor. Or a cat’s tail.

My all-consuming fixation on the Cross House since 2014 resulted less than ideal housekeeping at The Other House.
But now. Whew.

Looking north. This is the opening I punched through so I could access my new office. The step riser remained unfinished for over twenty years. Driving me crazy.

Looking north. In progress. Note finished riser! It is a miracle!

Now. That is either a very fat snake on the floor. Or NewKitty2. You can see why the room was ideal for a kitchen. The sink is under a window, and the stove/fridge create the perfect working triangle. The counter to the right of the stove is an impressive 8-feet-long. The sink has its wondrous double drainboards, and 4-foot counters to each side. Out of sight is a walk-in pantry in the adjacent dining room.
Same view, before.

When I decided to transform the room into a kitchen, I removed the salvaged side trim I had previously installed, and the window sill. I had no idea that…
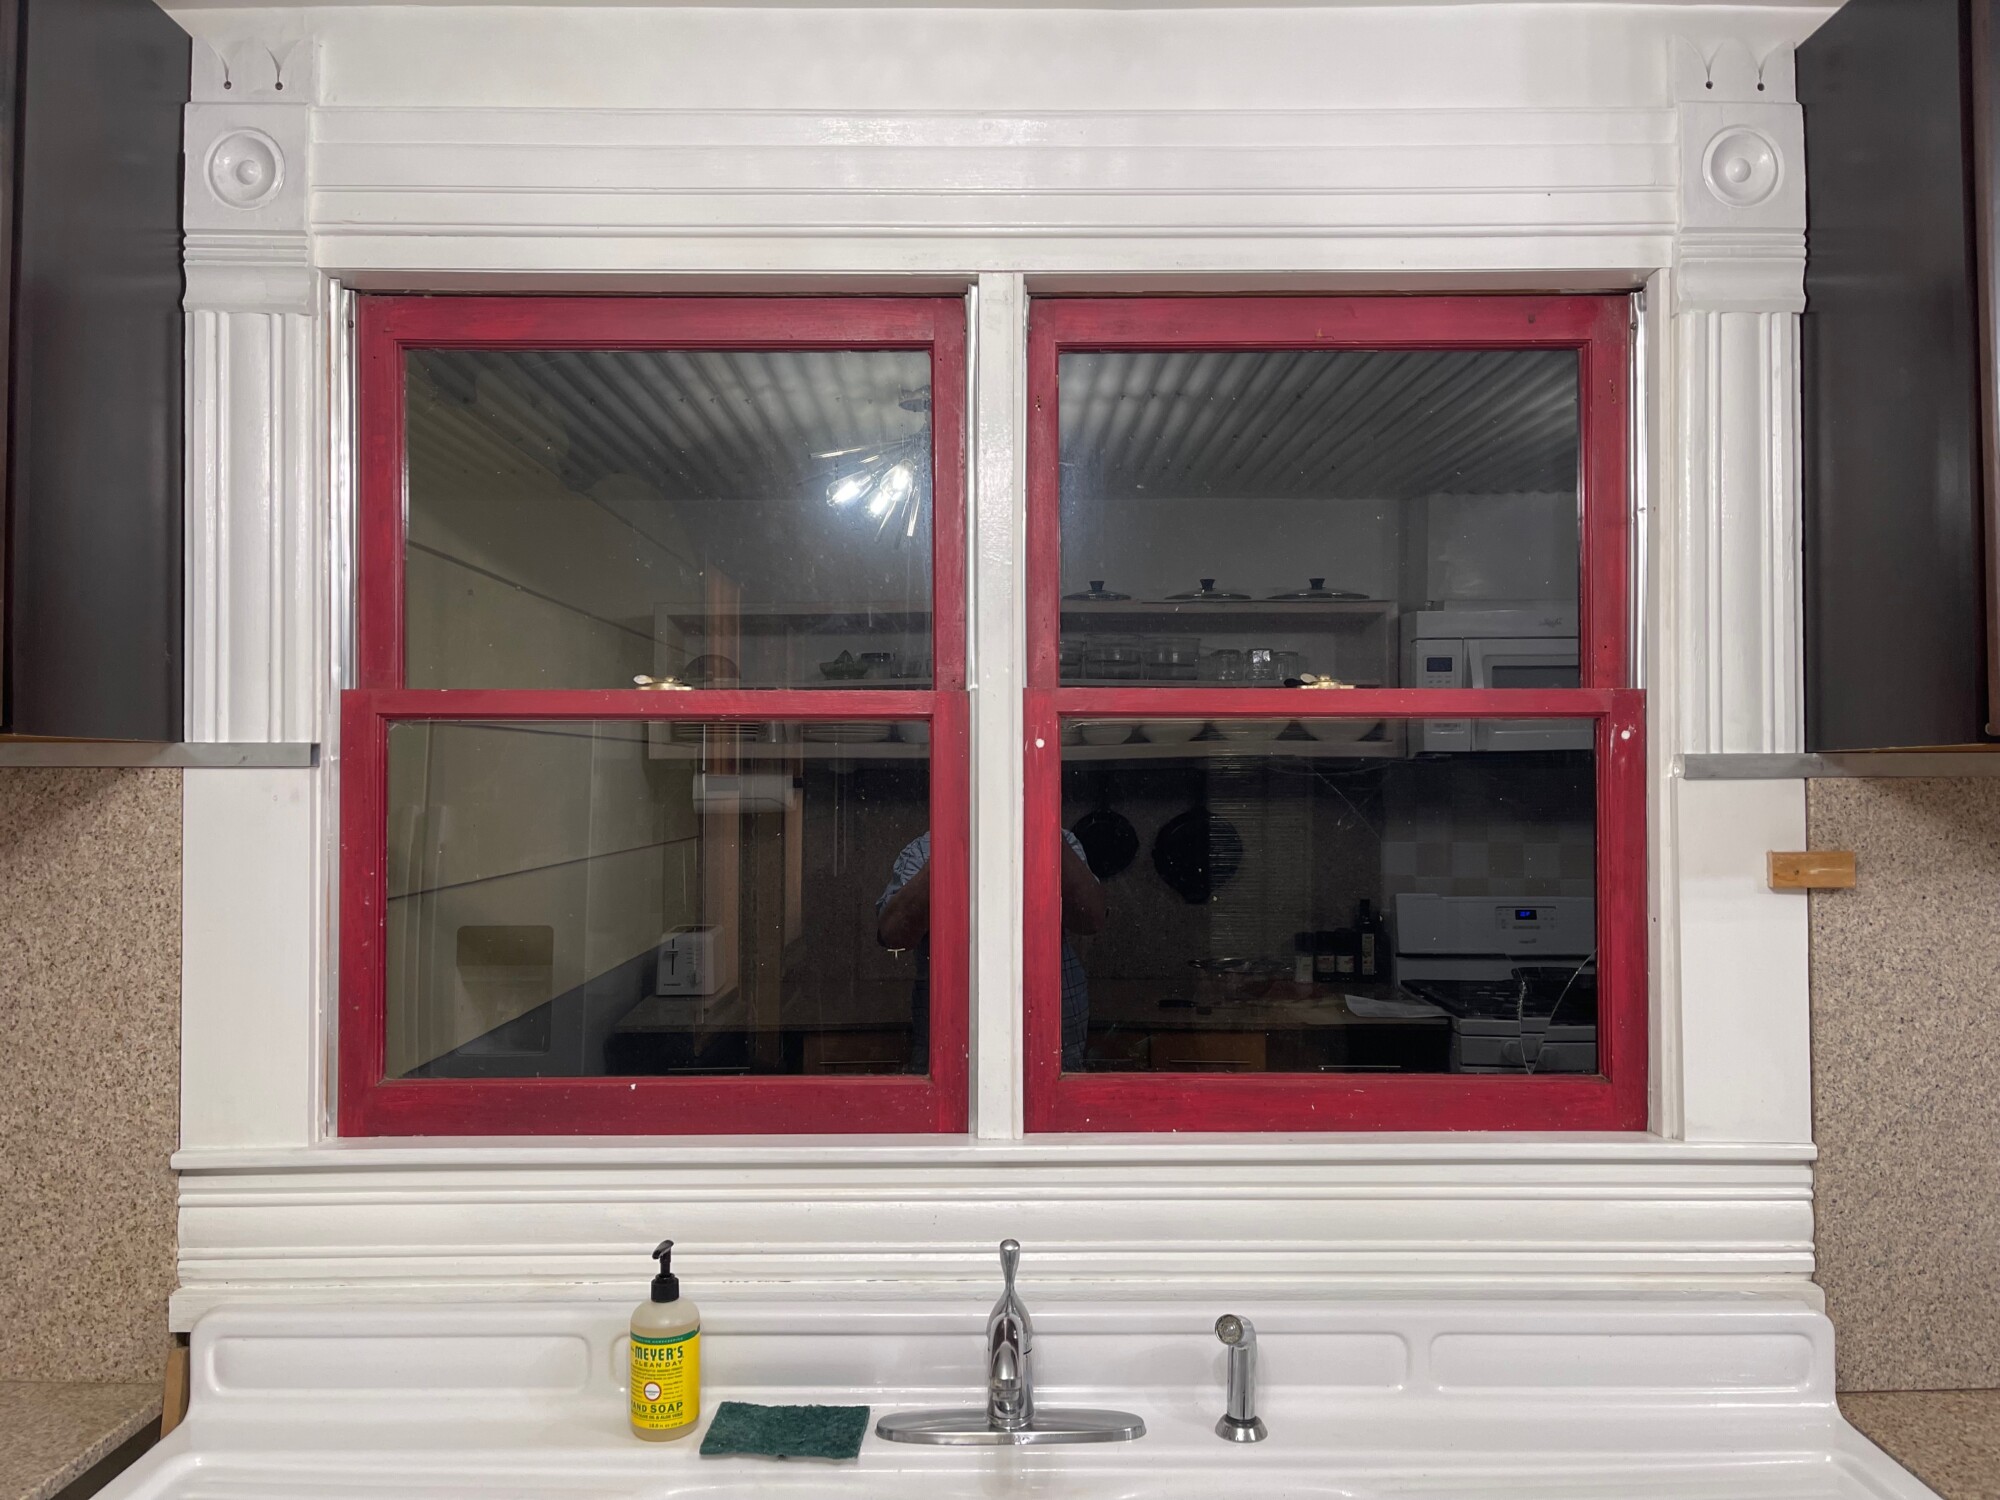
….so many years would pass before I re-installed trim and a sill and to have the whole in a complete state again. Geez. The sashes will get painted not-quite-black.

West wall. The extractor duct above the microwave is still exposed.

But no longer. Note, too, the tall cabinet to the left of the stove. This was in the Carriage House. It perfectly covered the horrible 1960s wall heater.

Looking south. This is the view I see the most. A far cry from….

…this.
Again, all this was made possible via my world-famous Baby Step Method.
And while I no longer need to adhere to a $1.98 budget, I decided to impose such a budget as a creative challenge, while not forgetting Park Avenue. The ceramic tile is the cheapest possible, as is the flooring. The corrugated plastic ceiling was a cheap and quick fix to a problem ceiling. The granite counter and high backsplashes were $320. The blond cabinets were reused from a previous kitchen in the house, which I did in the late 1990s.
The kitchen is now 99% done. And I think I well met the creative challenge.
Me happy.
Of course, finishing the kitchen would have been done many years ago had I not purchased the Cross House.

12 Comments
Leave a Comment
Your email address will NEVER be made public or shared, and you may use a screen name if you wish.
You should be happy, that is a LOT of good work, Ross. Kudos to you!
It looks fabulous.
That looks freaking amazing!
Love the light fixtures! So stunning!
Great progress on the Other House!
I love the checkerboard tile especially–it all looks so nice!
That kitchen should be such a joy to work in now. I’ll bet you are happy every time you step into it.
I envy you that large double sink with the drainboards on each side. For me, a sink must have a window over it.
Kudos on the cast iron. Great selection and perfect place for it to be for convenience.
That door is interesting. There is a metal rod installed diagonally to keep it square. I’ve never seen a solution like that. The knob is so low it almost looks like it was originally a much taller door and someone cut the bottom off, thus compromising the integrity of the door, so installed that metal rod. At any rate, such a bargain you got, with that beveled glass intact.
Did you remove the wall heater and patch the hole or just put the cabinet over it? I have a similar dilemma in my dining room and guest room. They share a wall and the furnace is under the house with a hole in the floor on each side, plus a hole between both rooms. That furnace is disconnected now after a gas leak that could have blown up the house. Eventually I will be installing mini-split combos in several of the rooms, even though i hate the look. I’ve left the furnace grates in place but I really need to patch the floors and the wall. I should have more of the original baseboard trim as I removed it from two areas where I had built in cabinets installed. Whatever I do to the floor will not match as it is old growth pine from around 1902-22 when they were building the house. I think I need to think like Ross and come up with something creative. The opening between the two rooms is too small to make it a faux fireplace with a mantle, which is all I can think of.
Here’s to our own project 2025s. Mine will be mostly outside with some hardscape and a lot of plants. One tree left to complete my “orchard”, two beds to build to complete my Victory garden, seeds already planted, “Baby Stepping” the fence one section or gate per month, finances permitting. There is so much involving labor that I can make progress and enjoy seeing it without having to spend money.
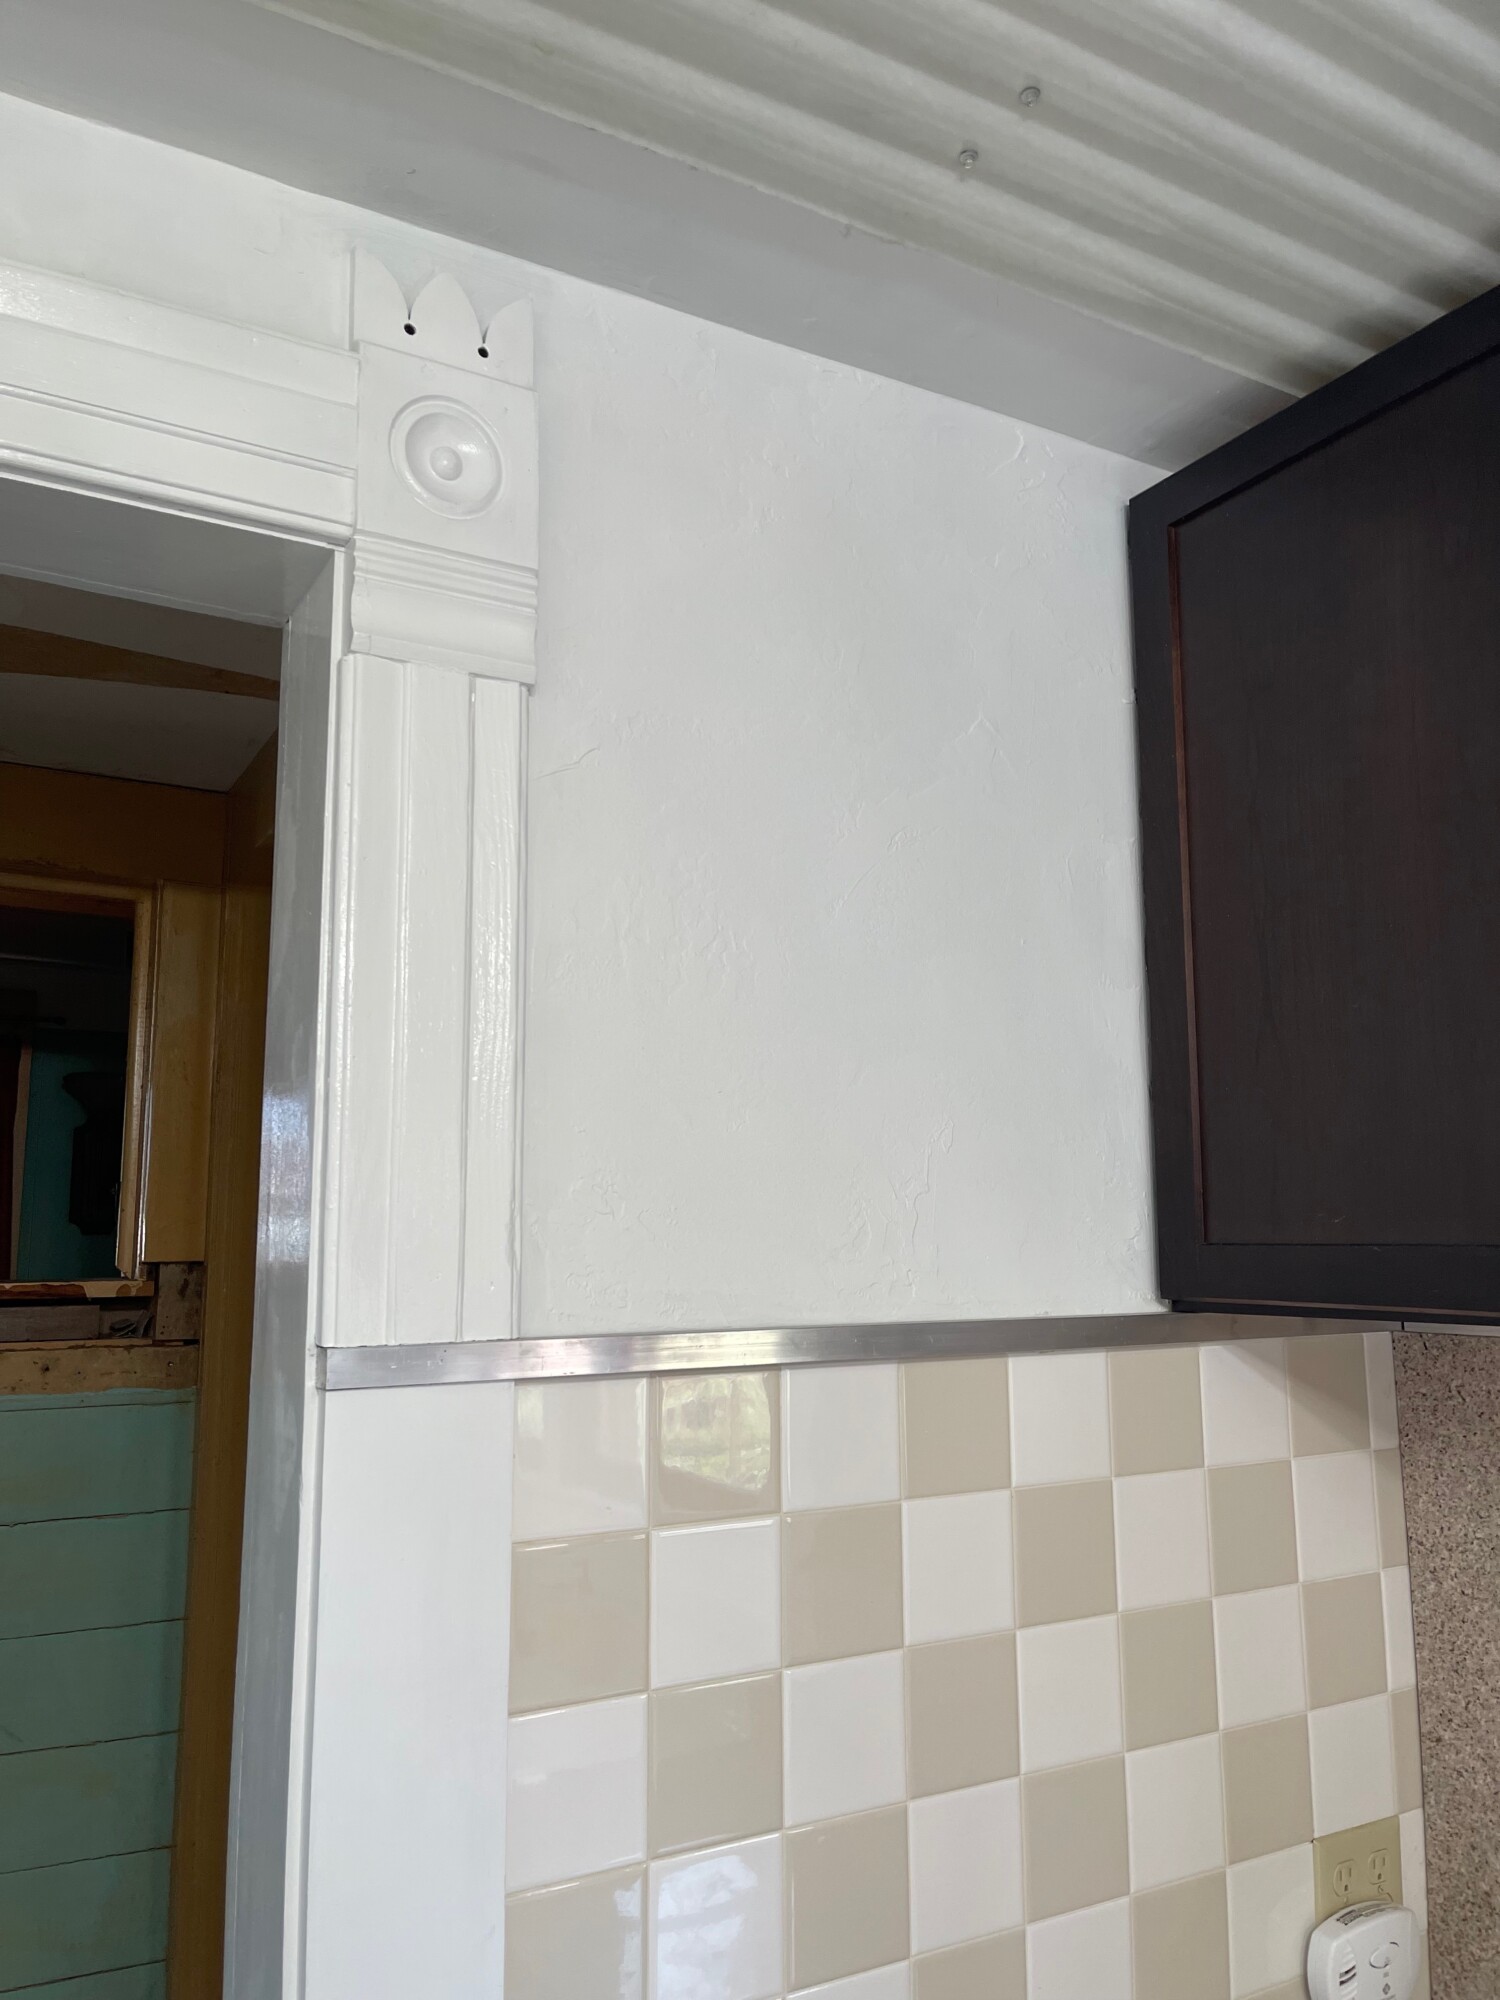
Looking good Ross, very good. A question, why is the woodwork fluted on the upper third of the door, but not on the lower two thirds where the tiles start?
Hi, Cindy.
The ‘fluted’ trim was salvaged. I didn’t have much of it. And what I had was short.
So I did the lower half in new 1×6 boards. The aluminum trim creates a proper division.
Hi Ross,
I love your kitchen,,, the colors you used are so pretty. That sink is awesome too. The timeline is very impressive and shows such diligence. Happy cooking!!!
As someone who is a chronic procrastinator, the best time was usually yesterday but the second-best time is always today. Congrats on finishing a long-awaited project, I hope you can feel the weight lifting off of your shoulders from it!
Job well done! And on such a budget! Turned out cute. Hint. Would that top open shelf near the ceiling look cute with some McCoy pottery on it!!!👌👍
Big hug Ross.