
A Siding Facelift
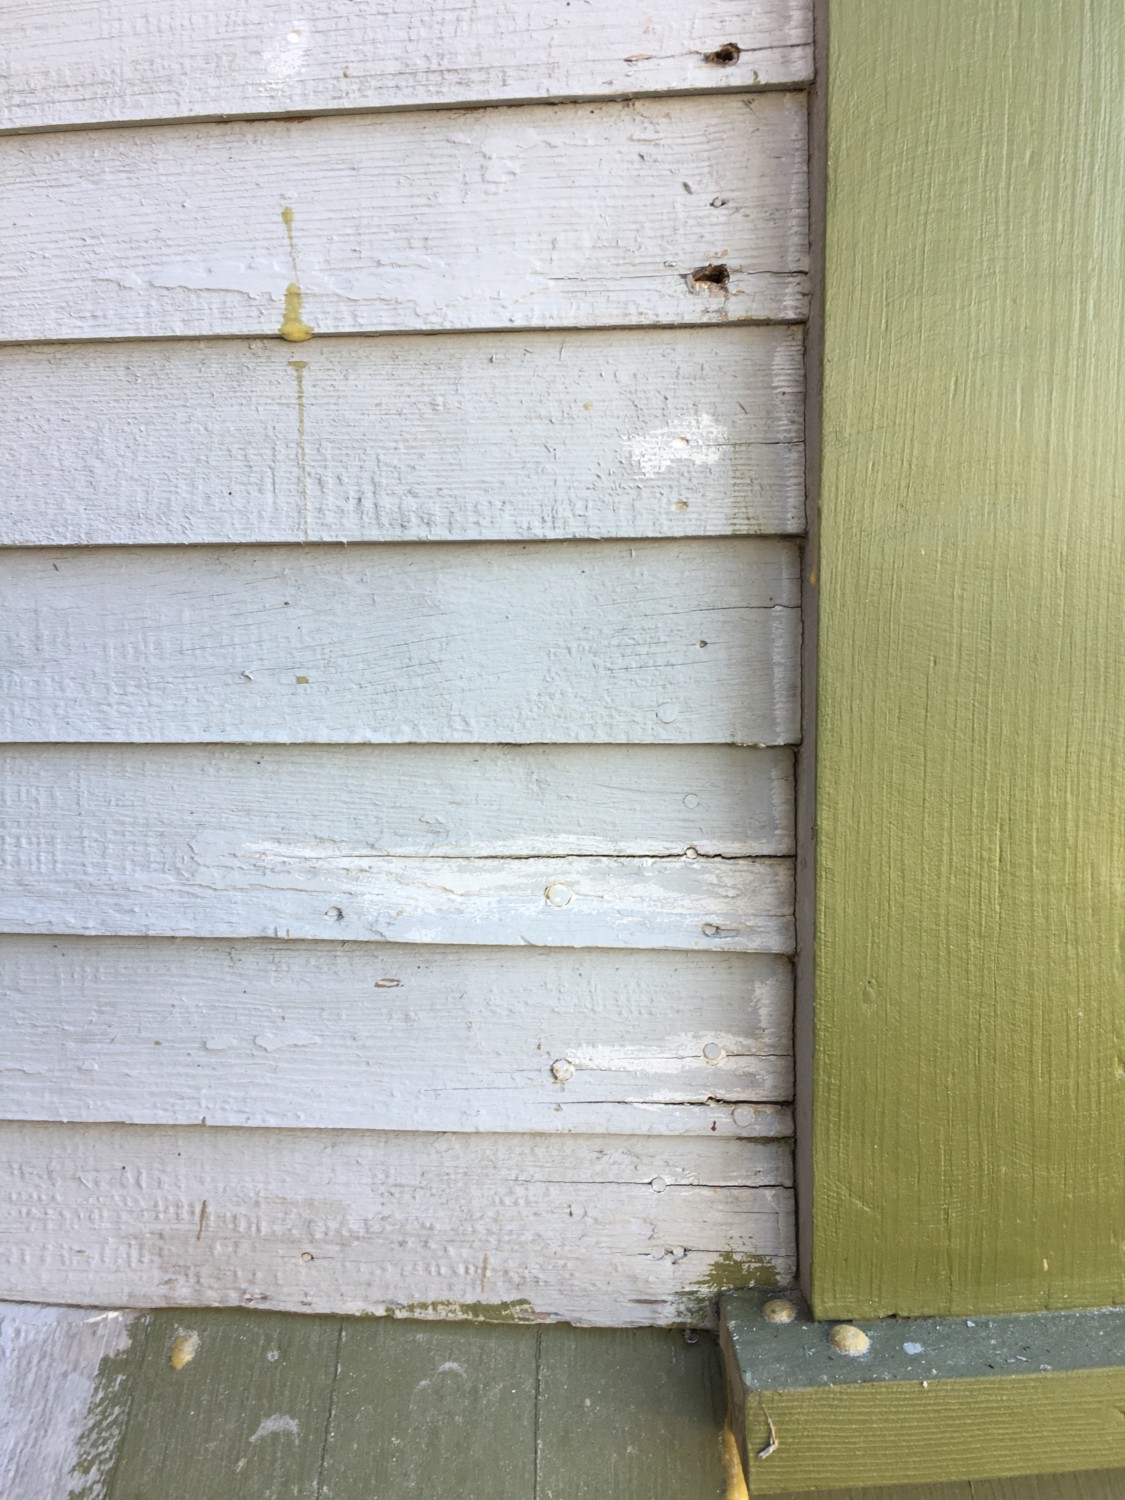
Siding at the very bottom of the tower. I pulled out all the old flat-head nails, glued all the cracks, filled in low spots, and sanded. Wanna see what 122-year-old siding looks like after a facelift?
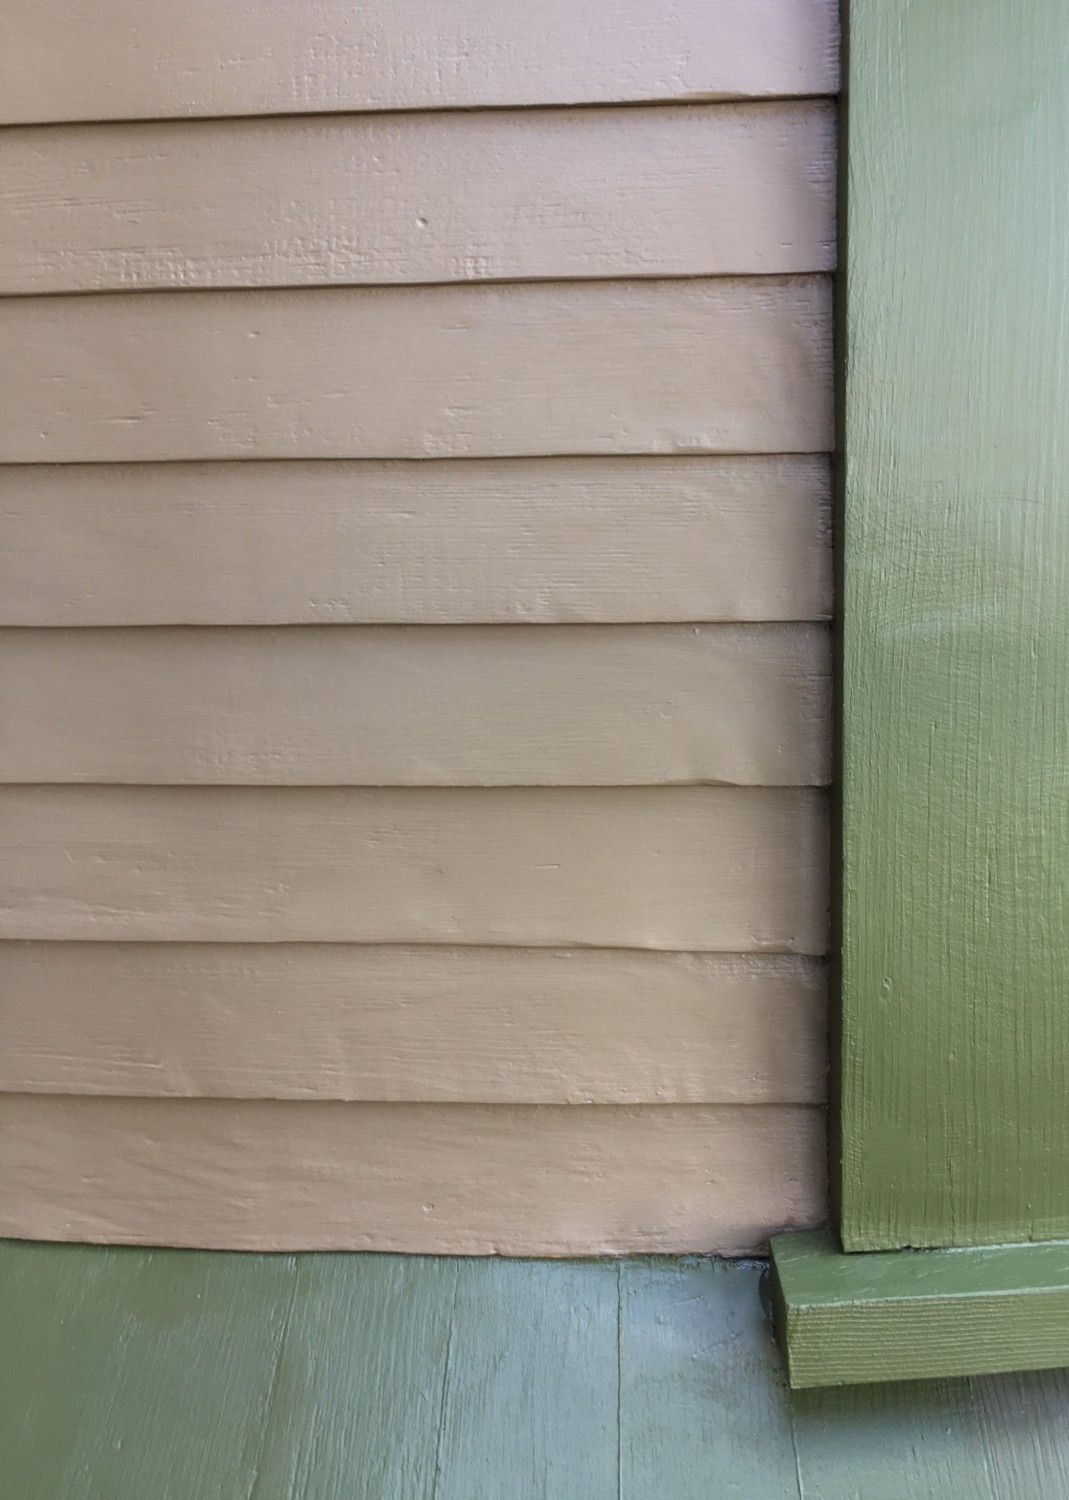
Better! I did not remove every trace of age, but did want to remove every trace of, well, abuse. I think the siding is MUCH happier now. You can feel it, too, right?

7 Comments
Leave a Reply Cancel Reply
Your email address will NEVER be made public or shared, and you may use a screen name if you wish.
Looks great! Old, but well cared-for!
Much better!
Exquisite craftsmanship!
I know this was over two years ago, but you will probably do more repairs like this, so I hope this is still useful. If you don’t know this already (you haven’t said anything about it) I have a little tip for you and your readers.
When you did siding repairs near the telephone room window, the siding boards were split at the ends because the nails were too large and acted as wedges. You have the right answer with finishing nails, but those will split the boards as well. They are too sharp and split the the end of the boards. The solution is to blunt the nails. Tap the point on the hammer, then set it in.
As for counter sinking the nails, often just the right hit will do that, but you risk leaving hammer marks. Finishing nails have a small dimple in the head. Use a countersink punch to set the nail. It looks a bit like a large nail but shaped to be held. Or just use a larger nail if that’s what you have.
Yes, I usually pre-drill holes near the end of clapboards to prevent splitting. I drill the hole slightly smaller than the nail shank so it relieves the splitting pressure, but still allows some interference fit to keep it snug.
I generally use galvanized common-head nails, but I’ve worked on houses with both common and finishing nails used, sometimes randomly on the same house (seems to be a preference of individual carpenters).
I like to use a nail set to set the nail head just slightly below the surface, then fill the head with Dap53 linseed oil putty after priming everything. I then spot-prime the putty and proceed with finish paint. It’s more work, but the nails disappear and are sealed against water.
Hi, David!
I always pre-drill to avoid splitting, and always use a punch to set the nails.
Nails hold by breaking some of the wood fibers and the nail is gripped by the compression around it. This is why you drill a hole smaller than the nail. By blunting the nail point you get the same effect but don’t remove any material so the grip is tighter. You also save a step and time. This is particularly for finishing nails, fat common nails will still split a thin or very dry board. You’ll have to try it next time to see the effect in action.