
CH: Day 66
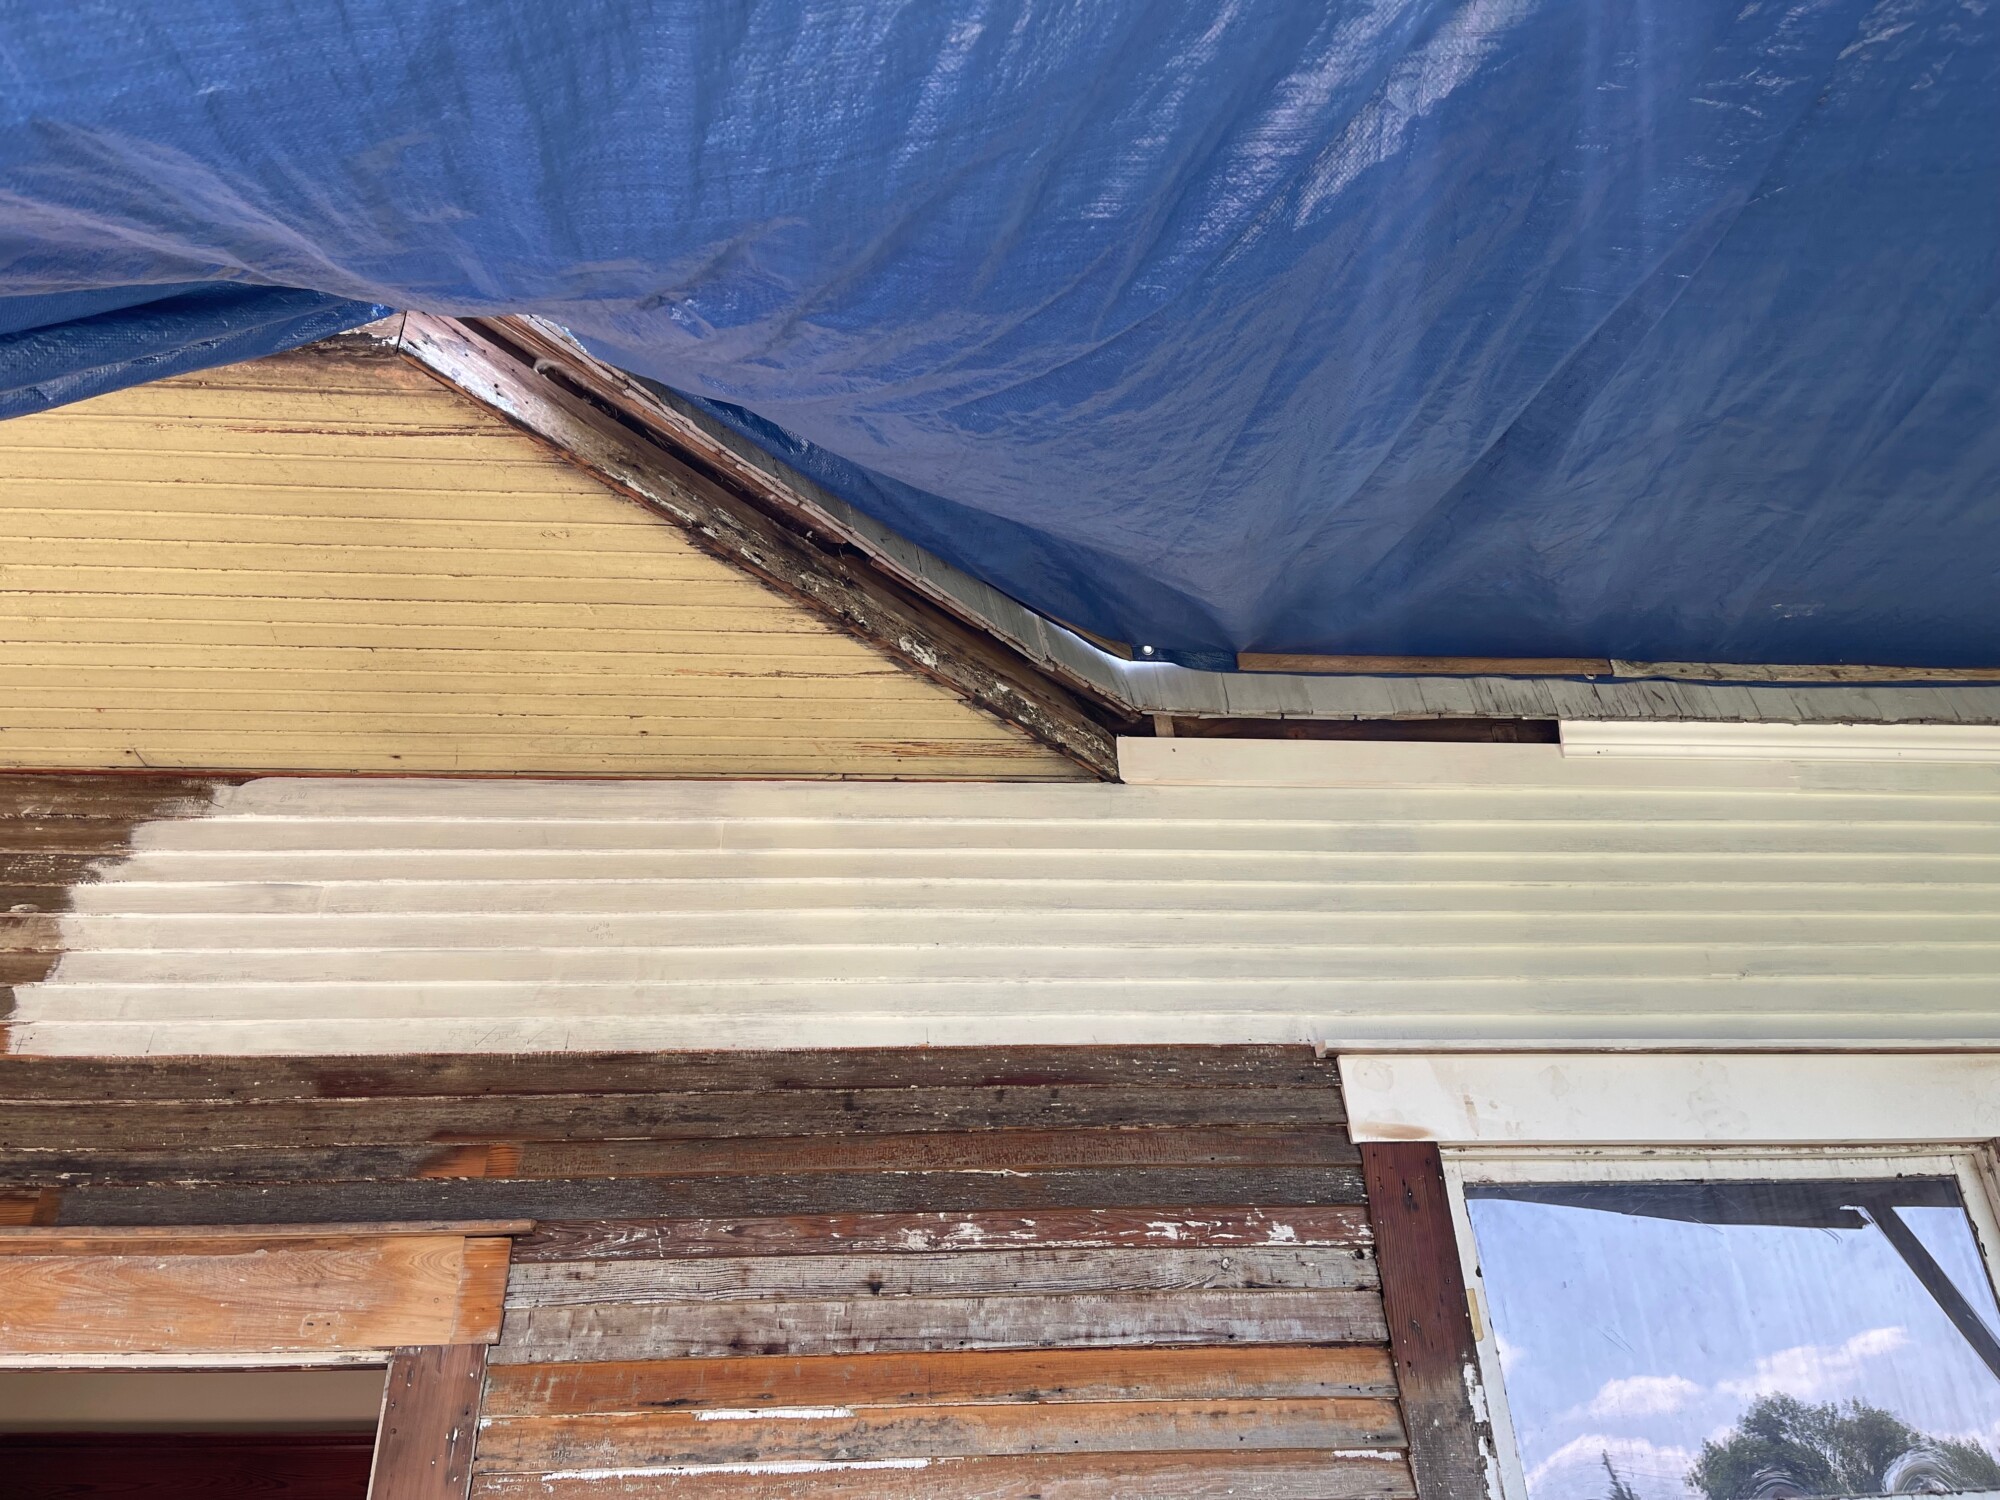
Today, the big effort was to finish the crown between the first- and second-floors.

But…but…it proved that I had no idea what angle the corner miter should be. What is shown above is 45-degrees. In trying to install the next length of crown though, the miter proved incorrect. So I fussed and fussed and fussed and gave up. Getting back home I called Justin about the problem. He replied: “In a 90-degree corner a miter would be half that: 45-degrees. But with a 45-degree corner the miter should be half that at 22.5-degrees.”
Oh. That made sense.
Ross be dumb.

10 Comments
Leave a Reply Cancel Reply
Your email address will NEVER be made public or shared, and you may use a screen name if you wish.
Miters are hard. Plus you are working with an old building and it might not be 45 degrees. Might be 42 or 47.
That doesn’t look like a 90 or a 45. More like a 135 or something like that.
Can you get a protractor and measure it? I think they have some finish carpenter’s gidgets that you can measure angles with. I think I saw one on This Old House.
Plus you don’t cut two. Well, you do, but the second one you cut away the back with a coping saw so they line up perfectly.
There are other tricks.
Mitering crown molding is hard.
That is why I end up using caulk to cover my errors. Or cutting two or three pieces because no matter how much I measure it’s till off. Or I cut it backwards.
Have I mentioned how much I lust for a compound miter saw? This is one of the reasons.
Where is my reply from earlier today? Strange. Maybe it got caught in a spam filter because there were two links in it. So, I’ll try with more words and without links 135 degrees is just the opposite side of 45 degrees (they are supplementary angles). If you have to deal with obscure angles, a T-bevel is a helpful tool. You can even make it yourself, if you have a straight piece of wood (or plastic or cardboard), a bolt and a wing nut. With a T-bevel you can copy the angle without even knowing its exact degrees.
But wouldn’t you need to know the exact degrees in order to divide in half to cut the molding?
Not going to make the mistake of posting two links so.
You would need something like this from amazon: General Tools 29 Plastic Protractor and Angle Finder, Outside, Inside, Sloped Angles, 0° to 180° OR something like this: Miter Saw Protractor,Aluminum Protractor Angle Finder with Level Gauge High Precision Laser Inside & Outside Miter Angle Finder for Angle Finder Carpenters, Trim work,Plumbers and All Building Trades
Or something like this from Home Depot: 5 in. Digital Reversible Angle Finder with Angle Lock and Large LCD Readout
Or his from Lowes, since I don’t know what stores you have in your area: Johnson Level 7in Digital Angle Locator and Ruler
You can divide any angle in half with a pair of compasses. Use the t-bevel to copy the original angle to a sheet of paper. Divide it in half with a pair of compasses (or just fold it in half, if you have no compasses). Copy the new angle to your crown or whatever you want to cut. Your pencil should be sharp for exact results but then you can copy and divide any angle, even ones that are somewhere between two lines on a scale.
At school (*very* long ago) we had to divide angles in halves, quarters, eights and so on until the lines nearly matched. And then combine them to new angles without using a protractor.
I’ve done the compass trick when drafting original quilt patterns.
But that method doesn’t seem very accurate when you are trying to set up a miter saw to cut molding.
This is why I hated geometry. I will stick with suggesting interior colors. Lol.
You guys are all too smart!
If it is crown molding it is probably a compound cut.
My head hurts from reading all these comments. And I used to be good in geometry – those brain cells must have gone the same way as the piano lessons. Thank god for caulking.
justneedspaint dot com choose-between-mitered-and-coped-baseboard-inside-corners
To me, coping is the way to go when you are working with angles that aren’t quite “square” in that they are slightly off due to settling, age or whatever. But it is really tedious work. I’m not sure it is worth the work for that particular spot. It’s outside, way above eye level and you have to caulk for the weather anyway.