
Progress. In spite of…
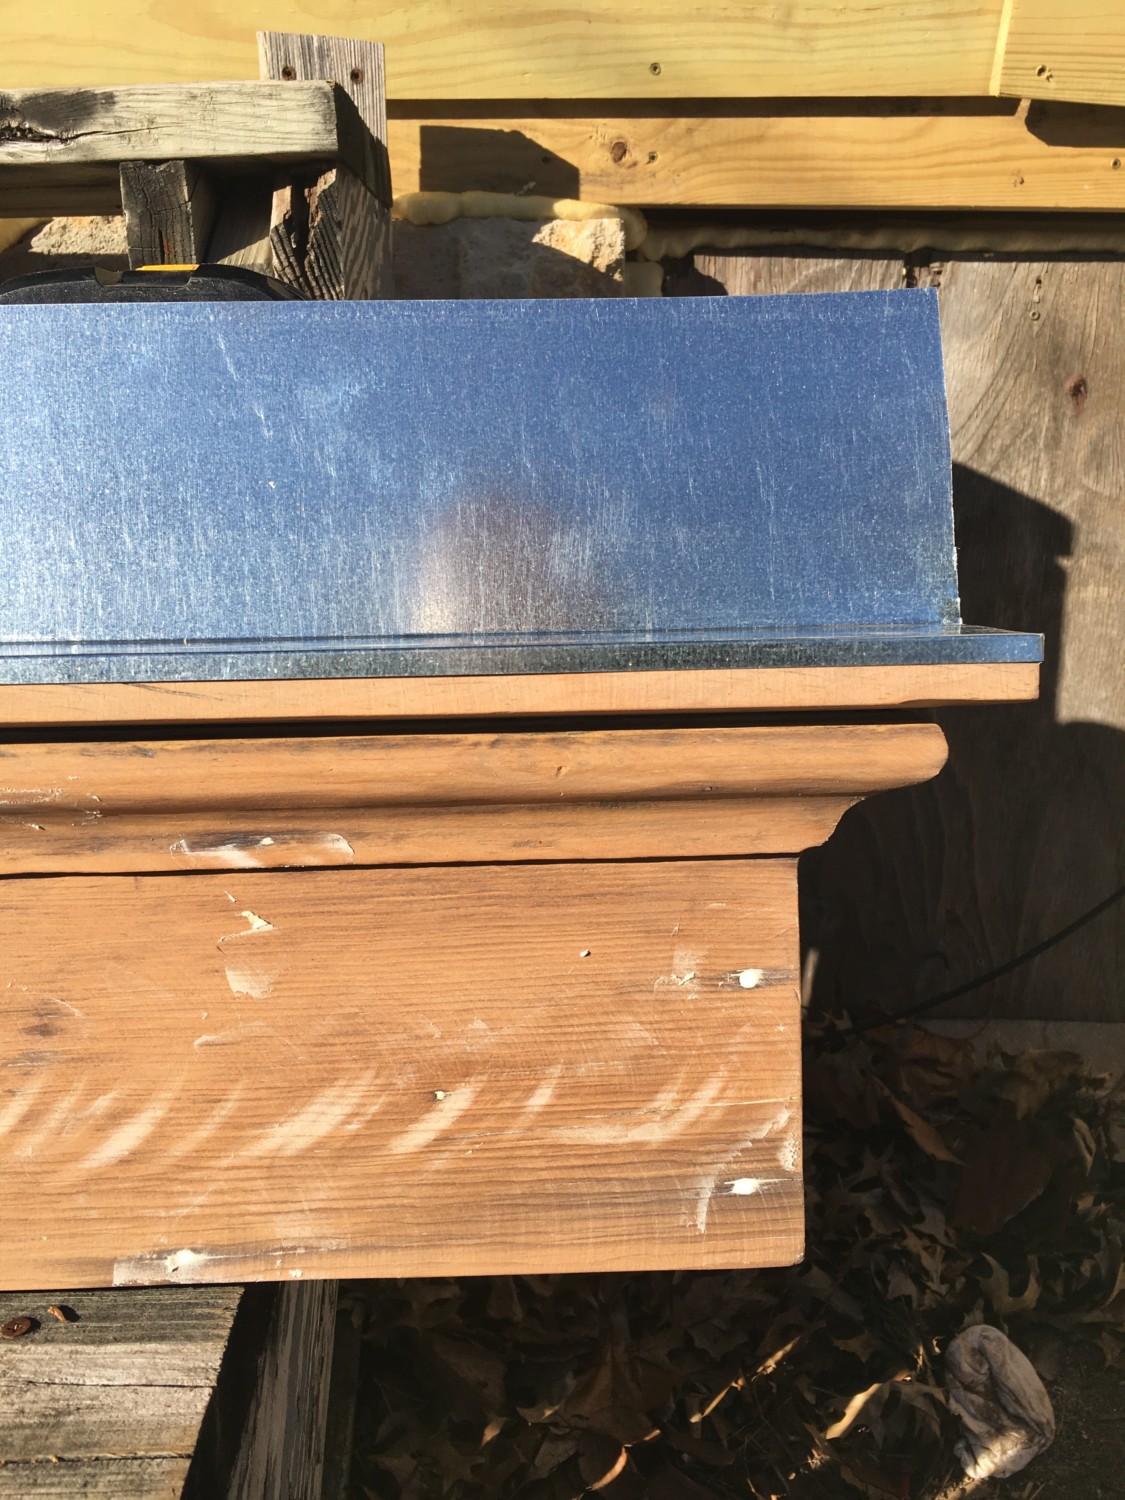
…my being a ding-dong. In my previous post I wrote about my brilliance in making these beautiful flashing lids for the pair of pantry windows. Later, I discovered that Groh & Sons could make…
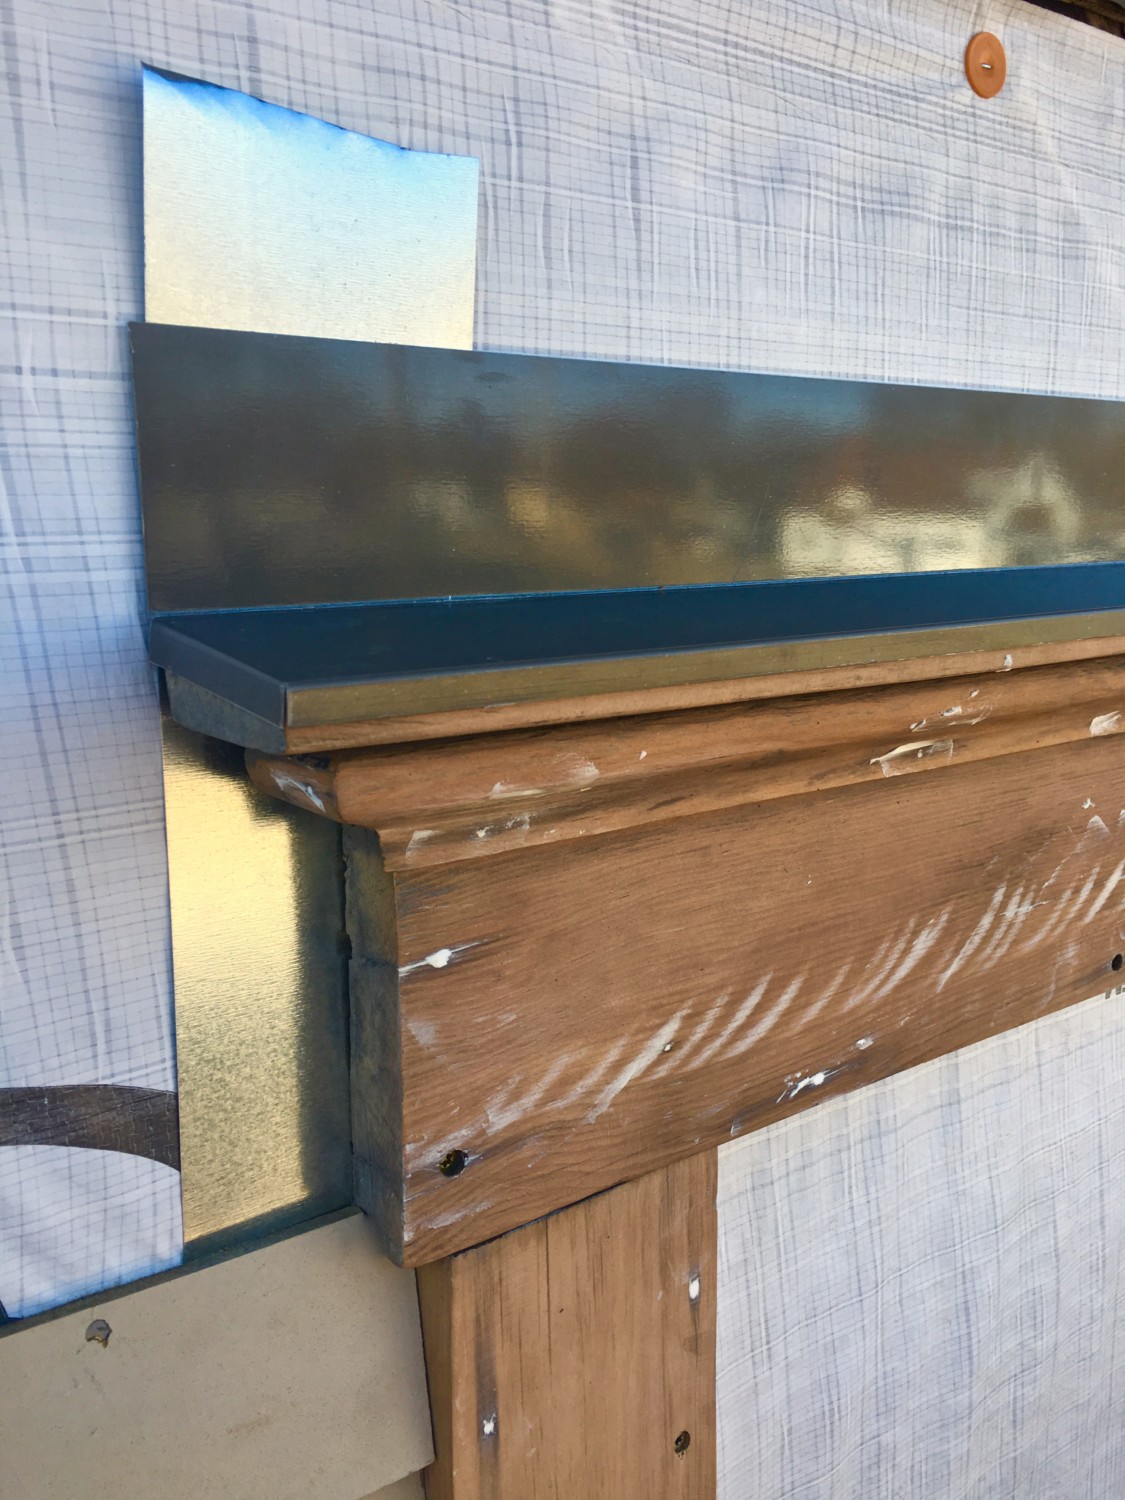
….COMPUTER generated lids in BROWN! I thus discarded my now less-than-brilliant lids. However, Justin and I discovered, to our chagrin, that the new lids, which fitted tight against the wall, were supposed to…
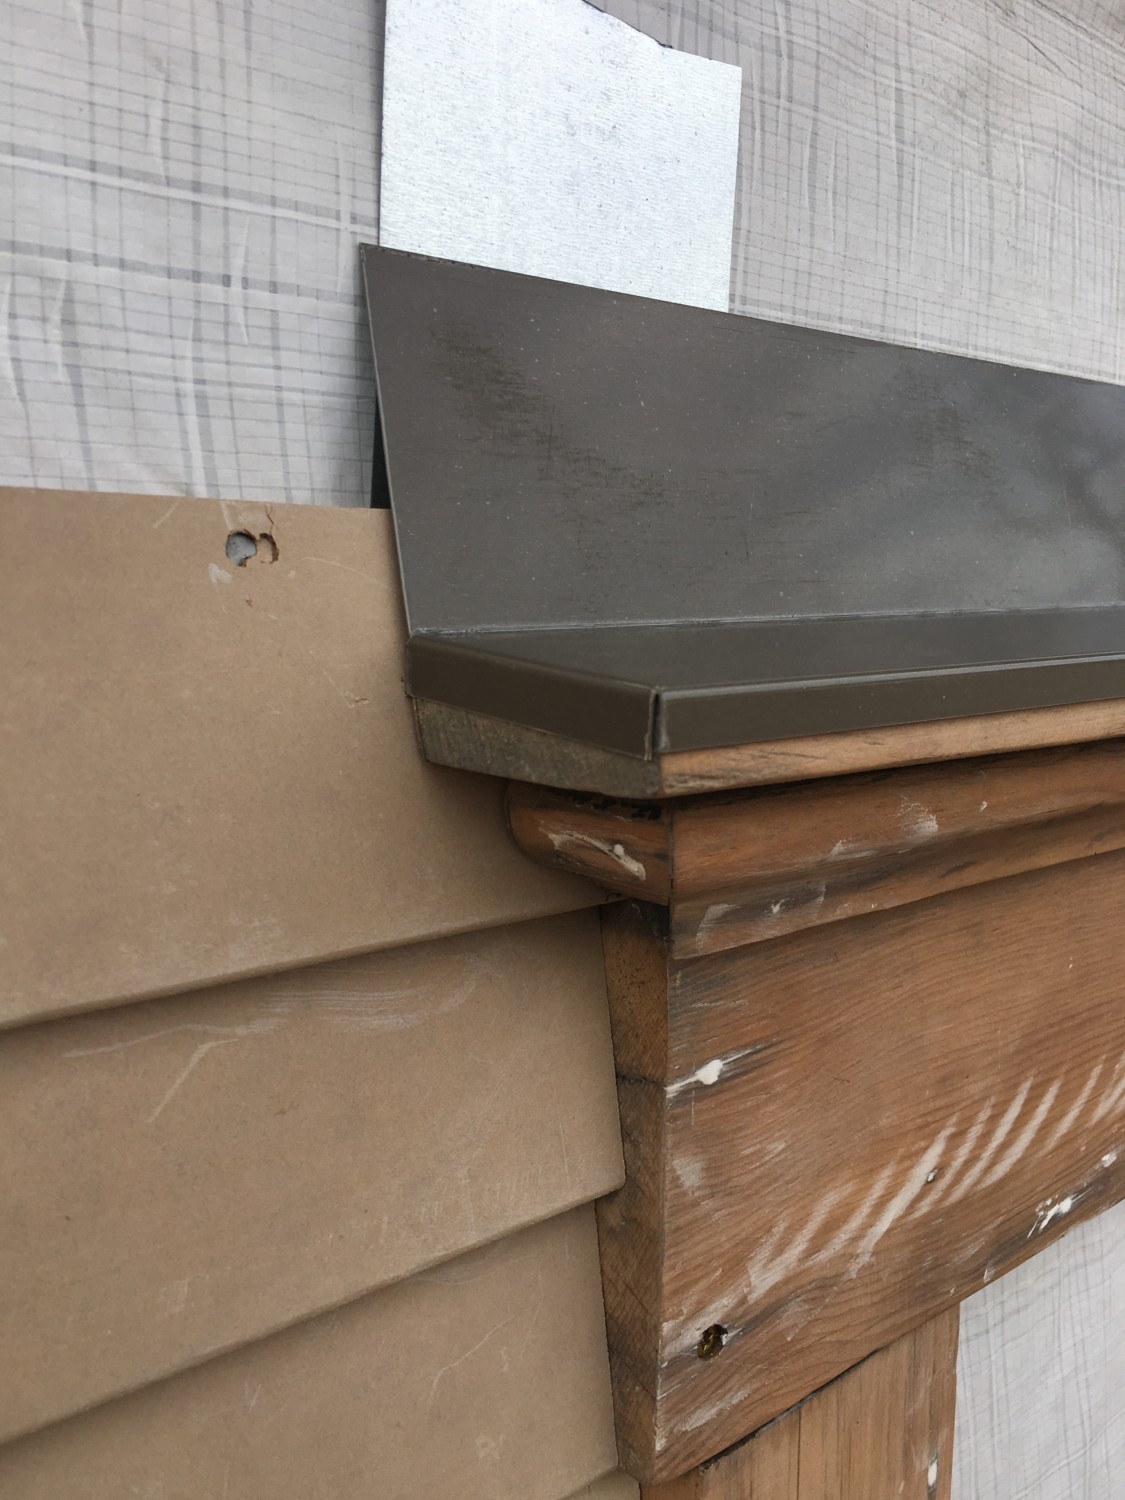
…instead fit tight against the next tier of siding. Like this. Sigh, So, you are looking at lid #3. Yes, lid #3!
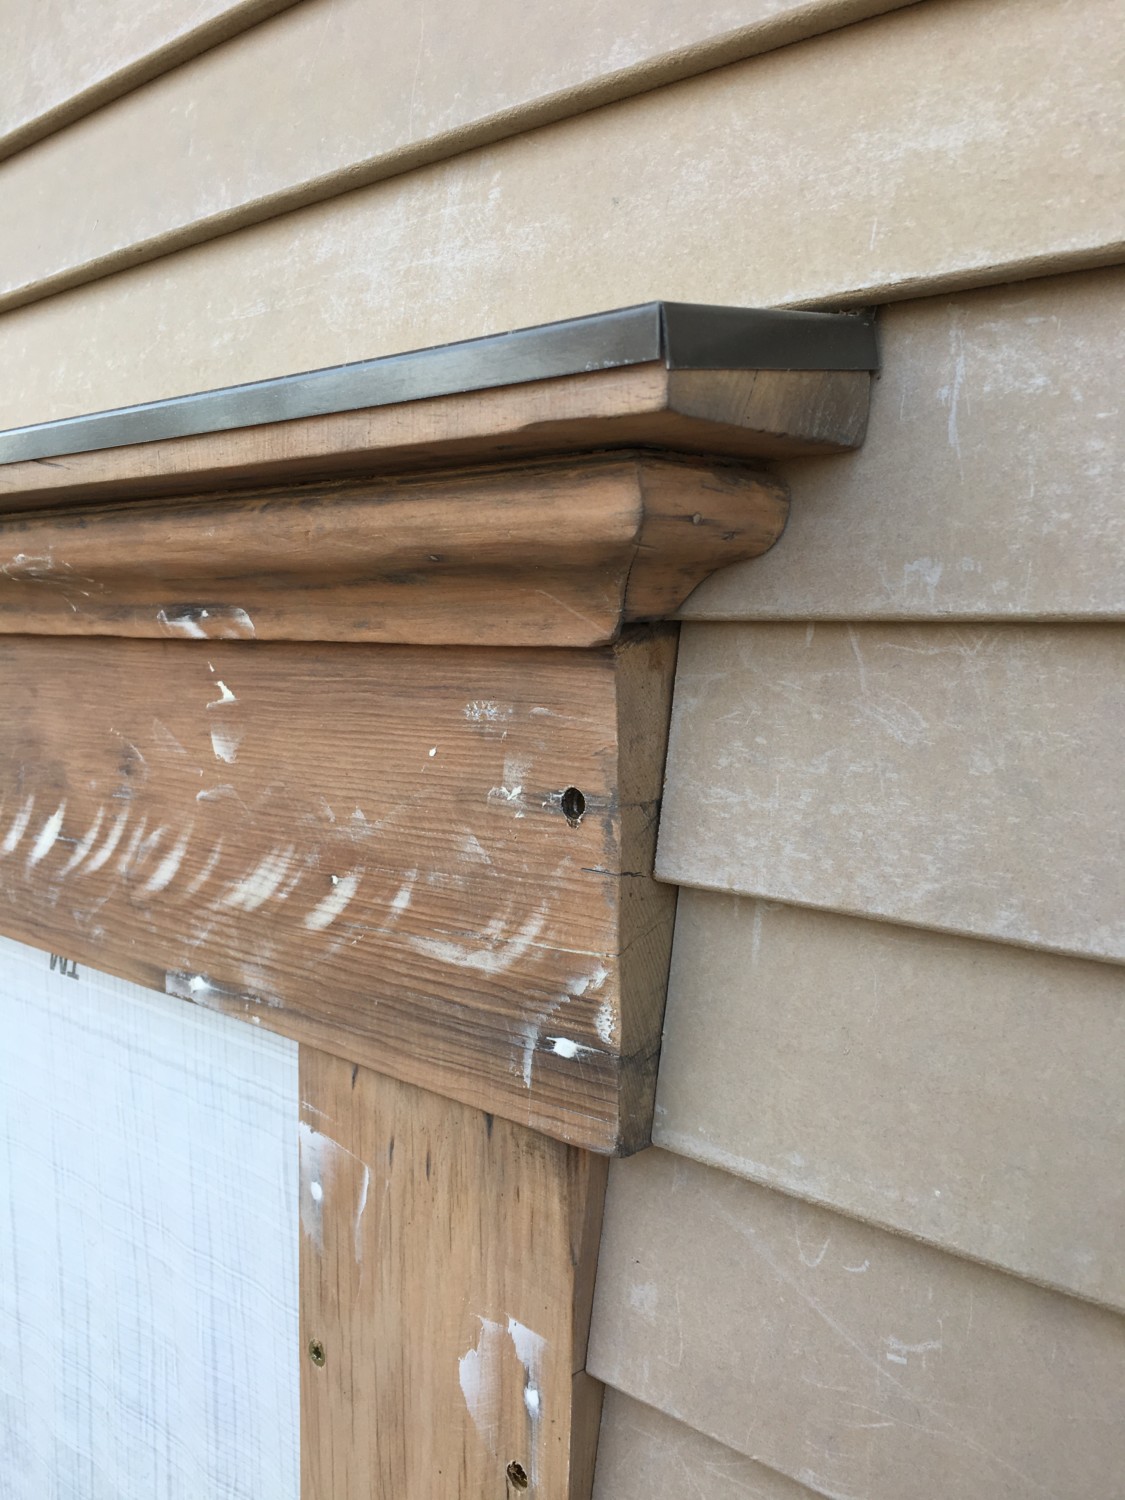
And with the siding done, lid #3 is perfect. Note how the bottom of the horizontal wood board lines up with the bottom of a siding strip, and the same at the very top, where the siding runs uninterrupted all the way across. Note, too, how the siding tucks behind the upper portion of the window trim (the wood had to be cut to fit). Smooth. All this takes a lot of fudging but this is how the work was done in 1894.
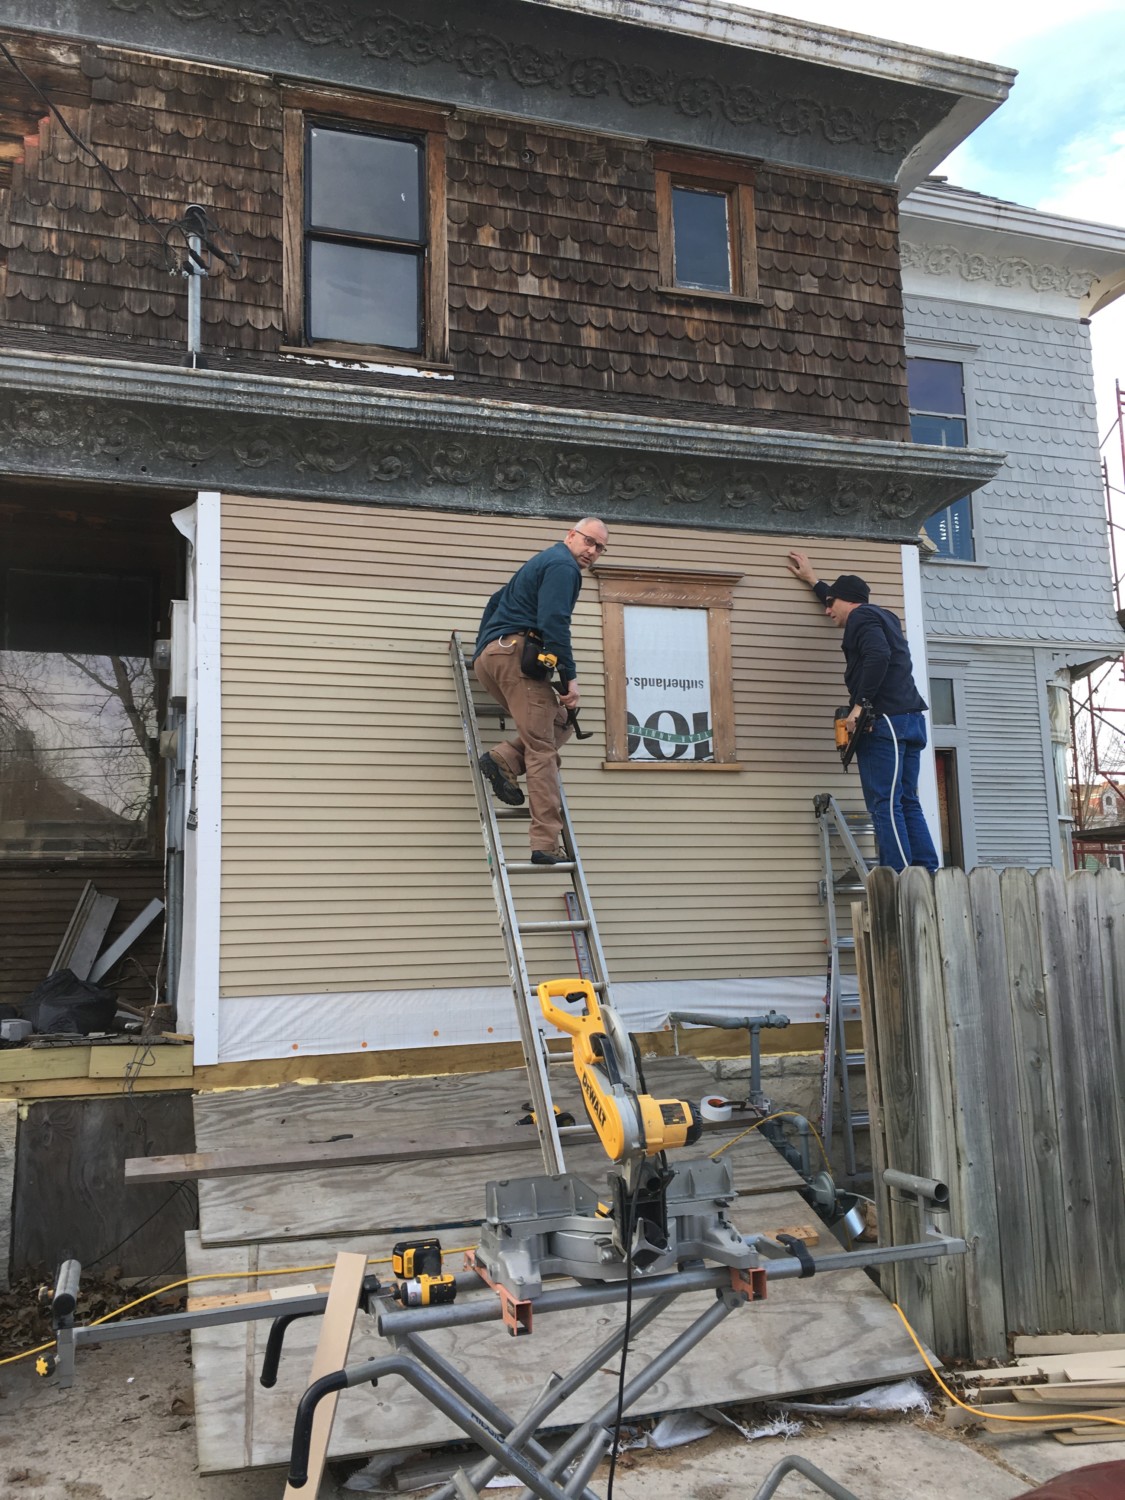
Justin (left) and Scott finishing up.
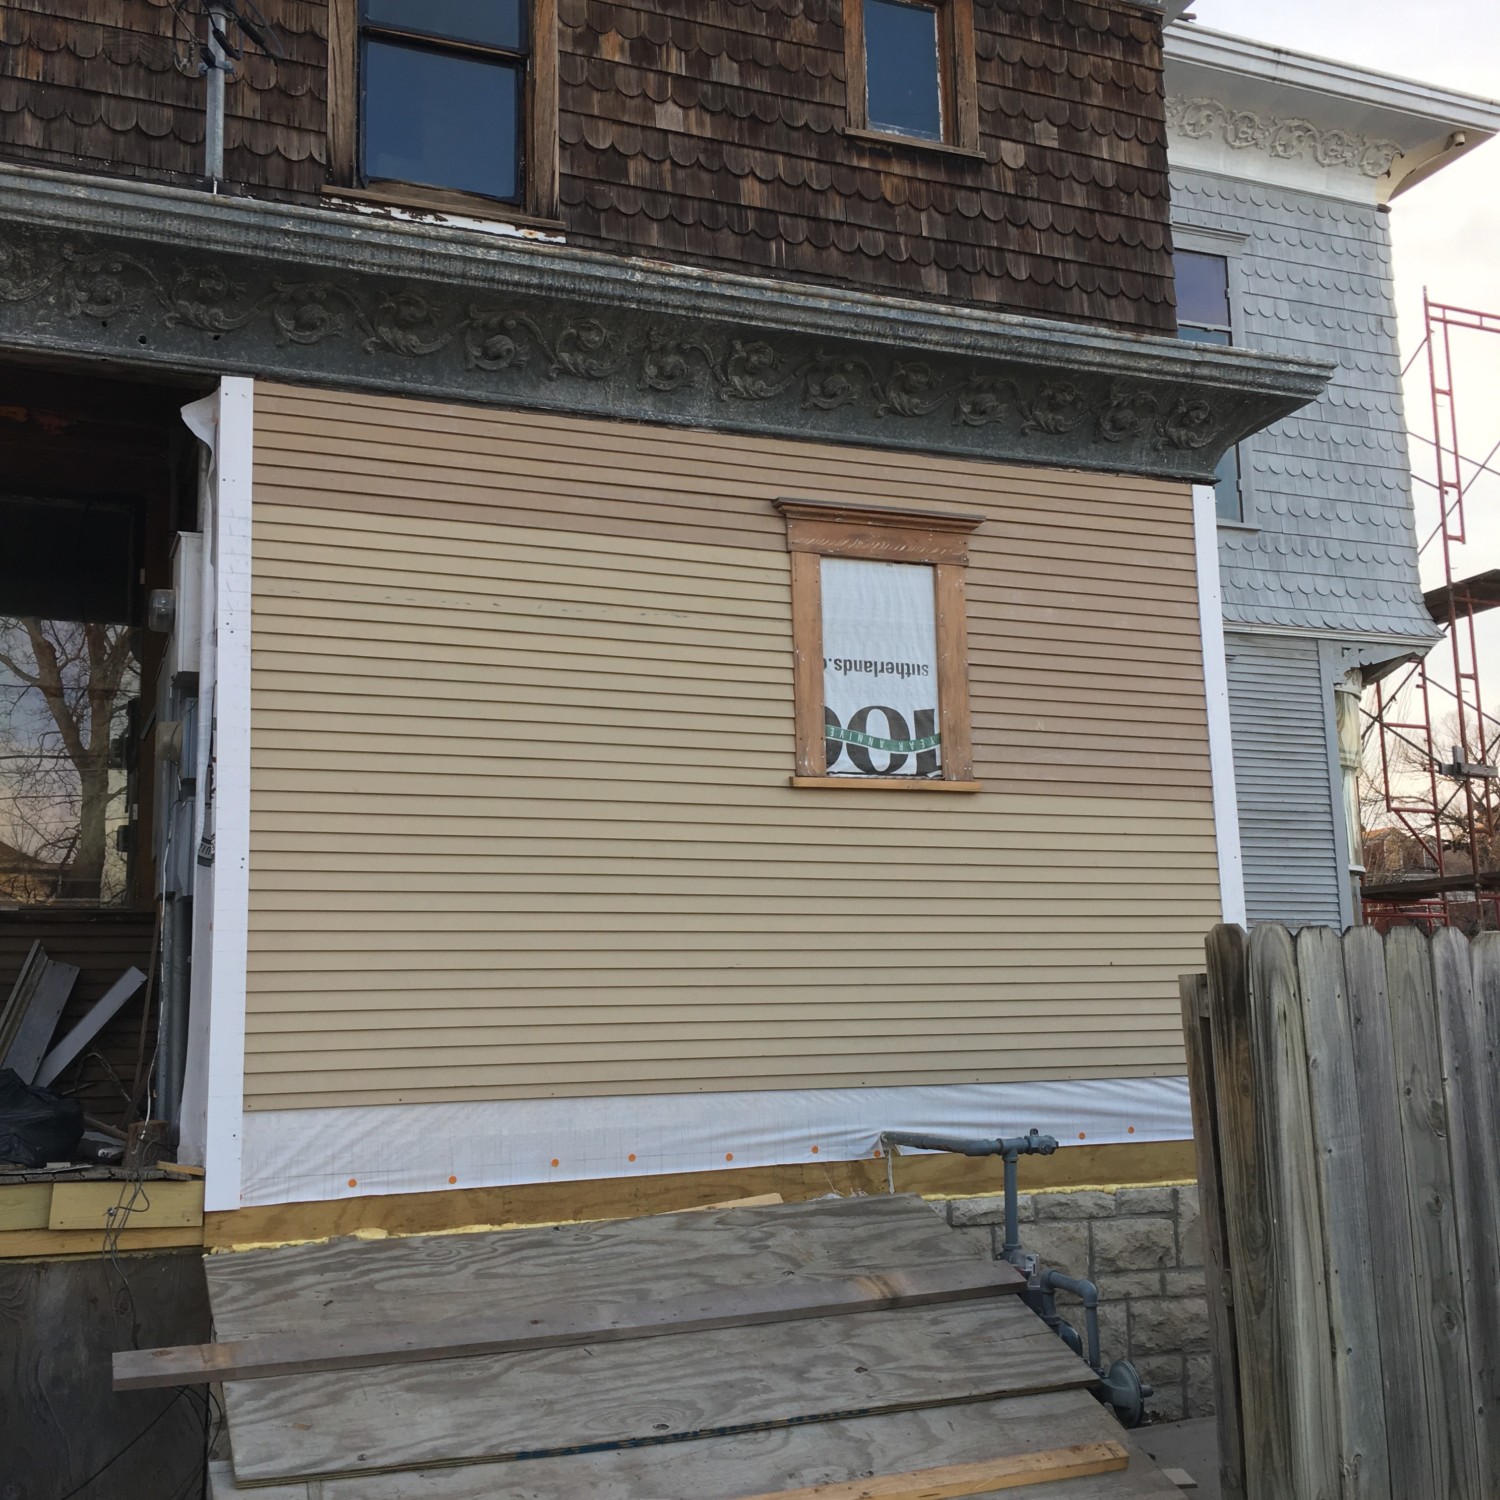
All mostly kinda sorta done! When the new custom-milled water-table trim arrives soon, we can finish the very bottom! Because the foundation is not level, and the curved cornice is not level, and nor are these elements parallel with each, AND because the window is not level, you may appreciate how much work was expended fudging every single piece of siding to make the finished product NOT look crooked and NOT like everything was installed by drunks! Oh, compare this with…

…a while back. EEK!

The task for next week is around the corner. Compare this with…

…a year ago. EEK! Terrifying! What fascinates me about this image is it offers a portrait of just how brutalized the Cross House was (and still is in many areas). It pains me looking at this image, but the image ABOVE this one brings me great joy. All this work is part of the Kansas Heritage Trust Grant. Kansas is one the few states to offer assistance for historical properties. So, if you are looking for an old house…

13 Comments
Leave a Reply Cancel Reply
Your email address will NEVER be made public or shared, and you may use a screen name if you wish.
Fabulous! The people of the great state of Kansas should be proud.
Bet your heart goes pitty-pat in anticipation of the reappearance of the diagonal-muntin windows.
I like how you left the vertical edges of the flashing slightly proud of the vertical edges of the window cap–to my regret (and replacement). I got several too snug while re-siding; water wicked up under the flashing & wet the cap.
Yes, my heart is in full-blown pitty-pat anticipation!
Oh, that looks beautiful!! I’m assuming the drip caps on the window frame tops aren’t going to be painted? I’ve always seen them painted. ~just wondering?
I will not paint them.
Thanks for showing before and afters, and explaining the techniques used to fix this house, then listing your resources when applicable. I have learned so much from all of you. At the very least it helps me appreciate these grand old ladies so much more than I already do. I’m in awe of the craftsmanship of the original builders and the efforts of our modern day restorers. Well done!
Lid and learn.
Smooth!
Ross, it isn’t too often I feel the stabbing pain of jealousy but I do, now. I need the same for the flashing on most of my windows. I would appreciate any advice you can give me on how I can get the same thing done without going into bankruptcy in the process. The only difference in detailing between your flashing and mine is mine had very small folds on the edges, and they used a multitude of tiny brads to install it around the bottom. I didn’t know how to proceed and I would be forever grateful for any tips. Please?
The lids are very inexpensive to create on your own…assuming you can find access to a crimping machine. My local old-fashion hardware store has one in their rear yard.
Anybody who works with sheet metal, or installs HVAC ducting, will also have one.
Let me know if you find one; we will go from there.
I’m appalled you allowed the vapor barrier to be applied wrong. The writing is upside down. I hope it still works correctly.
Damn! Now I have to do everything over again!
Knowing how to fudge is the mark of a true craftsman. We so appreciated our tile layer. We thought our new bathroom was square, but in an old house, nothing is, yet when he was finished, you would think it is.