
Refinishing the Kitchen Wainscoting. Part II.
Yesterday, I posted about my lack of joy regarding the blotchy look of the kitchen wainscoting.
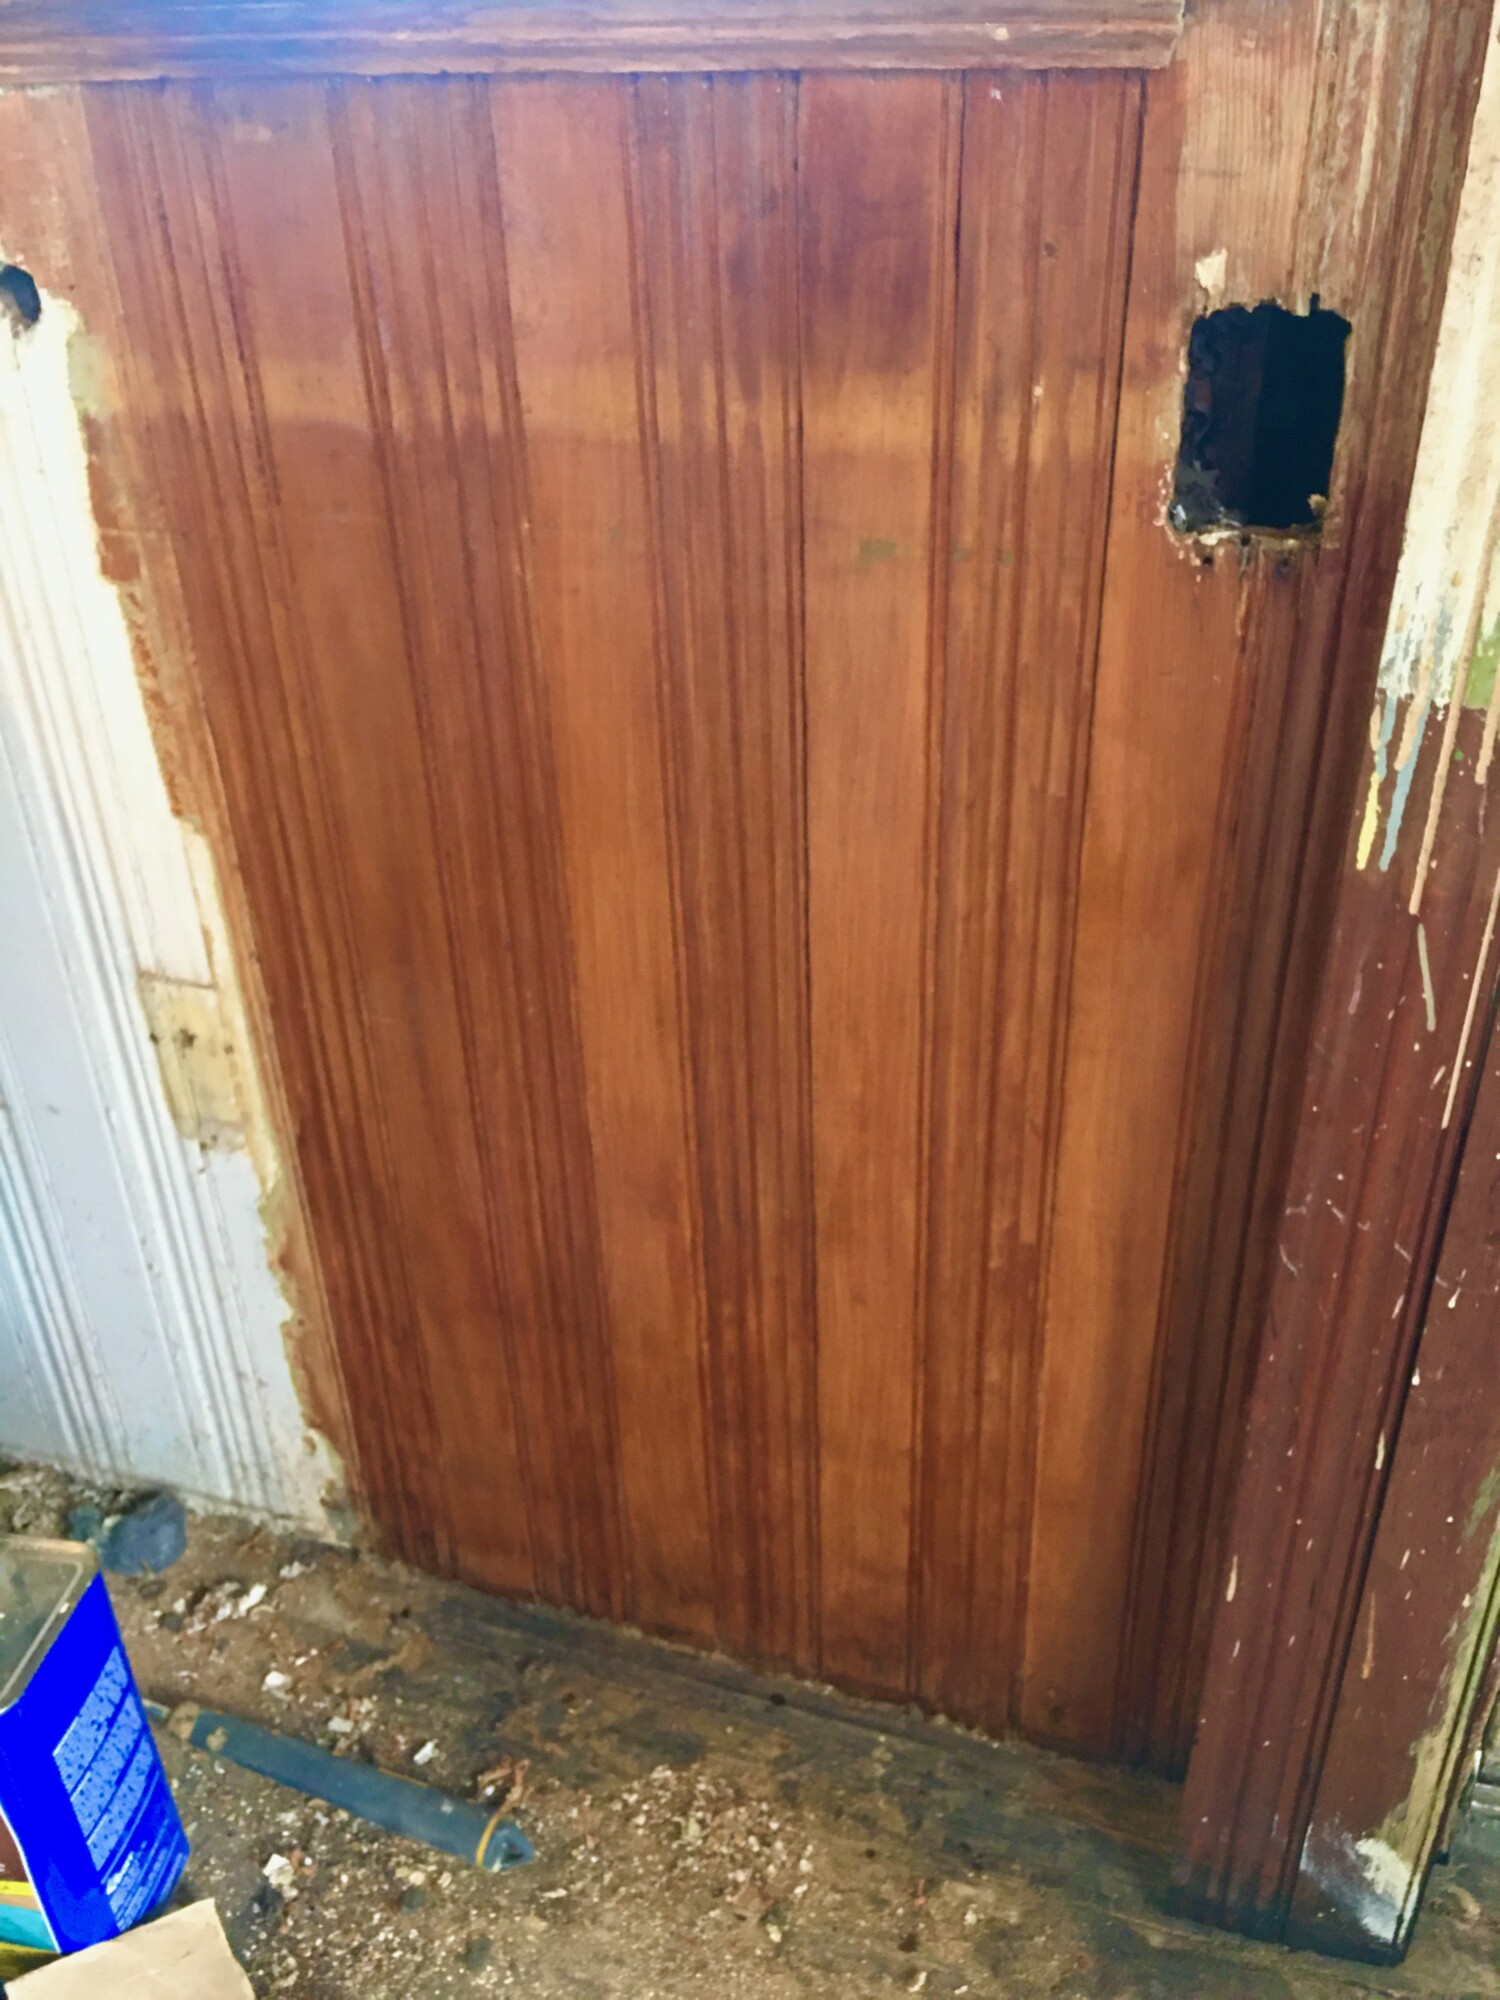
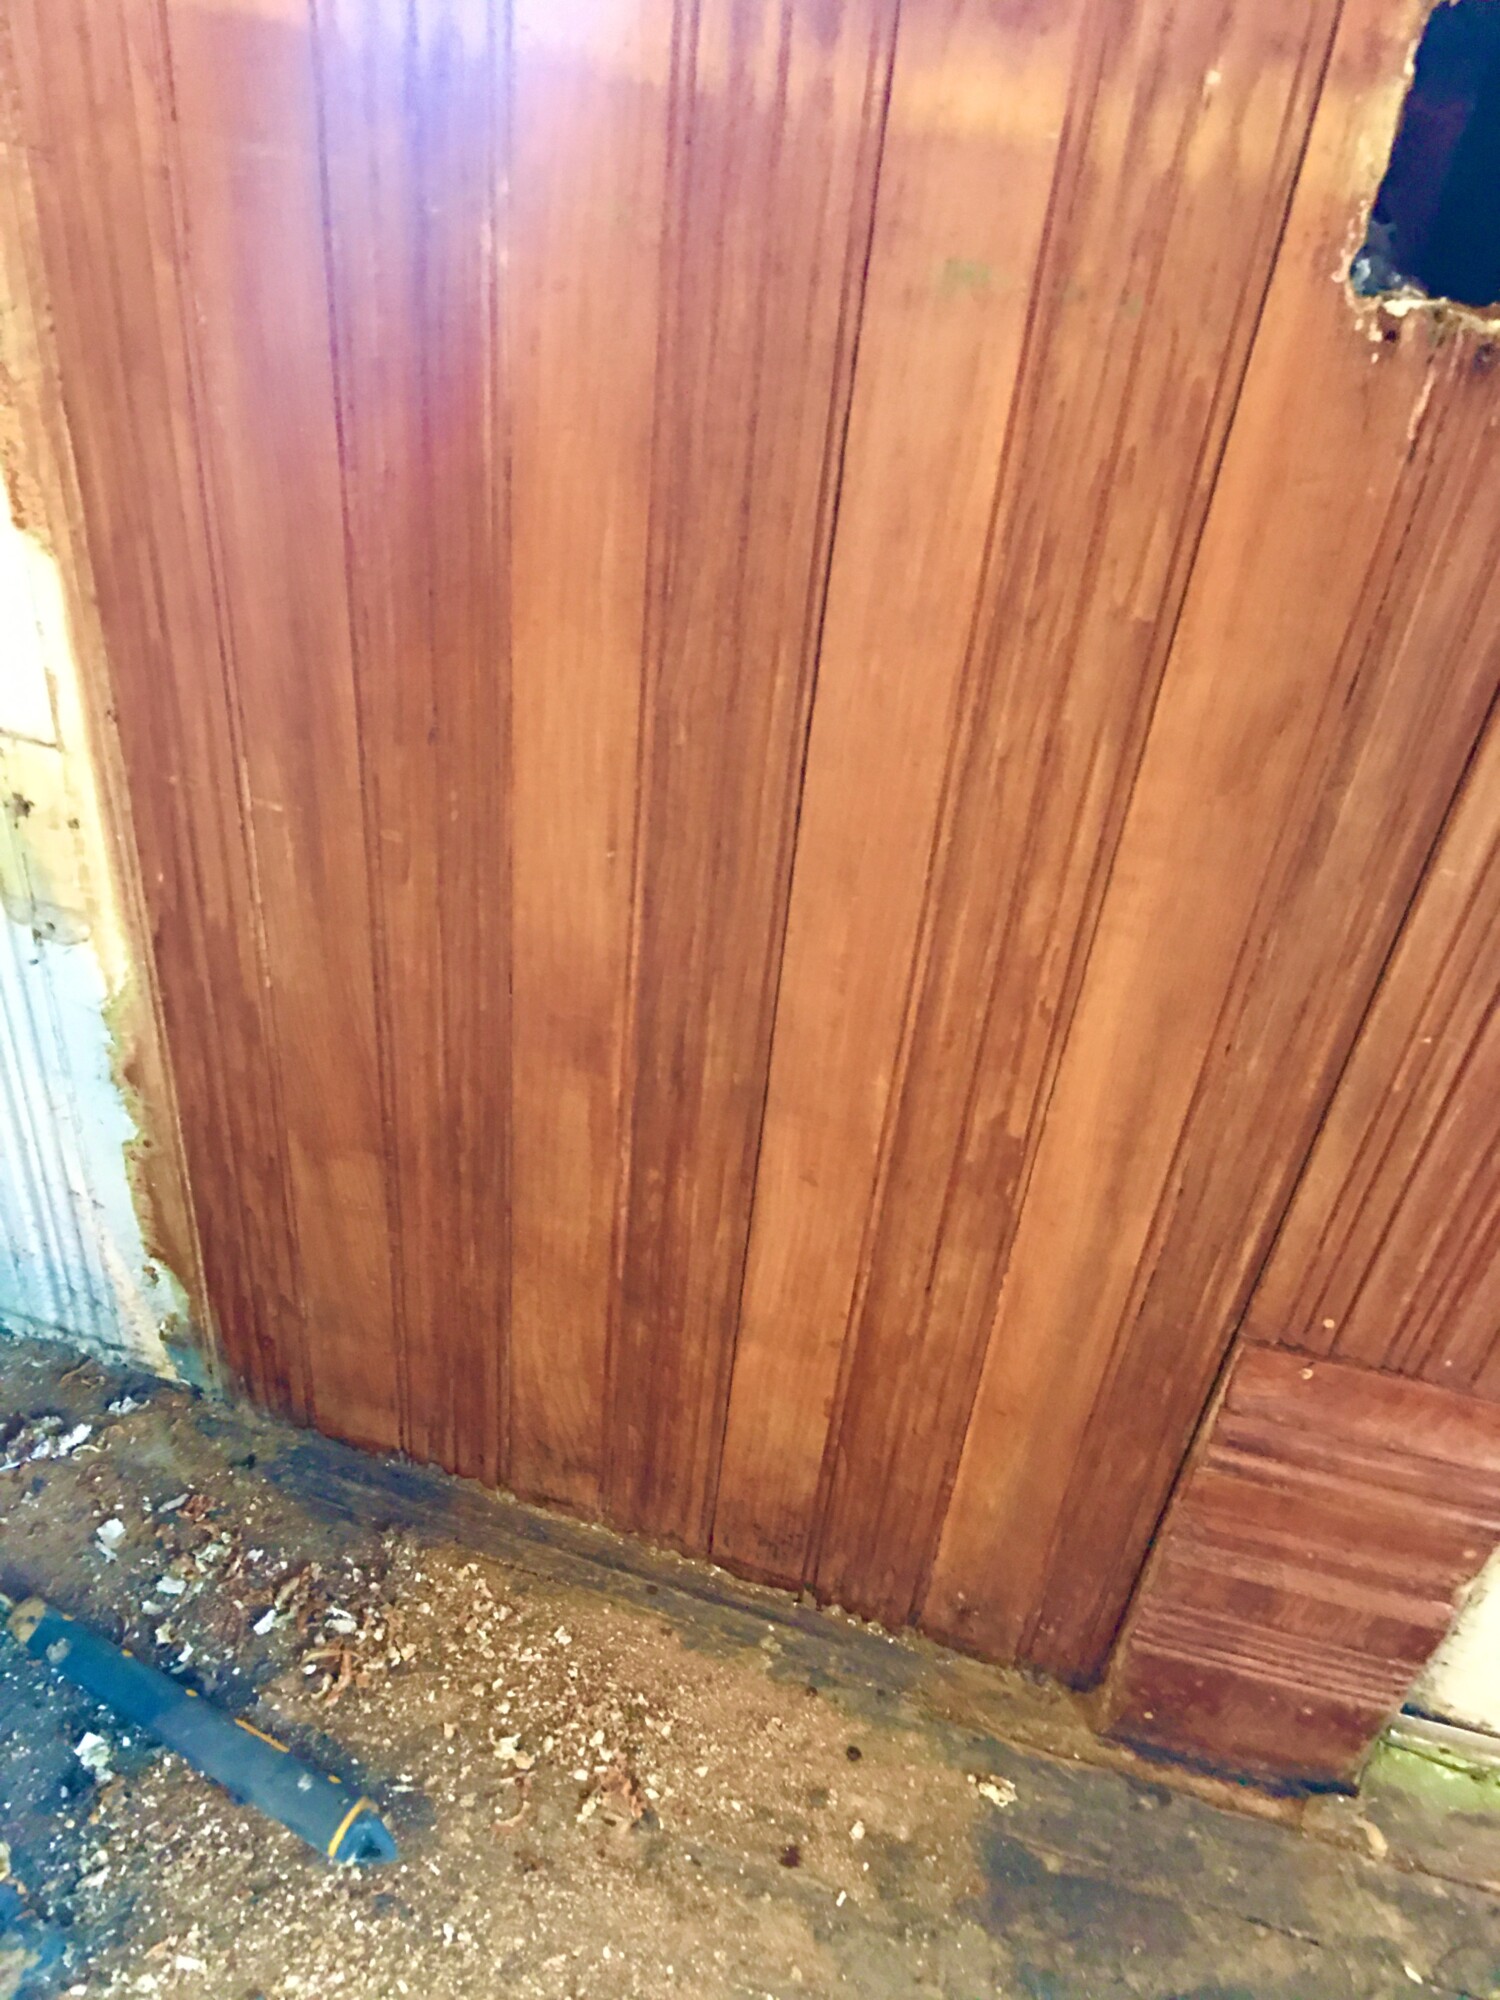
Today, after sanding, I applied another coat of amber shellac. It looks a bit better. To the right are two pieces of wainscoting which retain their original 1894 shellac. This, of course, has darkened over time but what is of interest is the lack of blotchiness.
Some of you have suggested using tung oil or stain. But, my goal is to recreate the lost original finish, and this was just orange shellac over bare wood. This was an inexpensive finish and thus appropriate for a room only used by servants.
The butler’s pantry was also painted. I was able to remove the paint and apply amber shellac, to great effect. There is no blotchiness. So, I did not expect the wainscoting to prove so difficult.
Some of you have suggested that I just move on. This has confused me. Anybody well acquainted with this blog knows that rushing through projects is soooooooooo not how I do things at the Cross House! Rather, doing things right is my goal. Doing things right fuels me. And I need endless refueling to keep going on the titanic-sized project.
With the wainscoting, I have been focused on getting this small sample area right. For, once I figure out how to achieve the look I want, all the rest should prove easier. Well, hopefully!
During the last month, I have worked less on the house than at any point during the previous seven years. In short, I have accomplished very little.
This is due to getting a blood clot in my left calf, and understanding the value of taking it easy for a bit. This is why I am not high up on the scaffolding redoing the gutter. And why I am not trying to replaster the ceiling in the Round Bedroom.
Instead, fussing with the wainscoting is not taxing. Ditto with restoring the Octagon Bedroom mantle.
It is now May, and the big priority will be to install a shower in my bathroom so Cody can stay in the house when he arrives for a visit on the 19th. But, Justin will be doing most of this work. The cat fence will also continue but this, too, is mostly Justin.
In the meantime, I will continue with non-taxing projects.

19 Comments
Leave a Reply Cancel Reply
Your email address will NEVER be made public or shared, and you may use a screen name if you wish.
I know you’re itching to do more on the house, but taking is easy is the best medicine. You’ll be back doing what needs to be done soon enough. The flip side, if you don’t rest that calf now, it may not turn out well. So hang in there and get well Ross.
I have had good results with wiping bare wood with a wood conditioner, or pre-stain on woods which soak up finish differentially because of differences in wood density and porosity. The Cross house kitchen pine woodwork has also been exposed to heat, humidity and vapors which were not present, or attenuated in the butler’s pantry. After stripping, a fine sanding, then wood conditioner, then amber shellac. I do not suggest a gel stain because of your standards, but that would be a vehicle for a uniform effect.
I have also had good results using a good bit of red wine or red grape juice, applied frequently and internally, to keep those dern platelets from clumping.
I was going to suggest this same process. Sometimes with pine just dampening it with water can help give a more even finish. Of course that is with laying down a stain finish not sure how it would respond with just shellack since it is not that friendly with water. Maybe dampen it with denatured alcohol first then shellack. Good luck with this!
Glad you are resting Ross, and I hope that you got the needed meds.
But. Most importantly, thank you for saying once again how you love doing things right. Doing things right fuels you. Beautifully put. We are kindred spirits there.
When I had the big design office, I had a large ornately framed sign that said “Do it right, the first time.” And I had everyone who worked with me sign it, especially the young people just starting out.
It always buoys me when you say one little thing in Kansas is just a little bit better. That’s the kind of stuff that makes me happy too.
Be well my friend!
Take care of yourself. The Cross House has a long history and a long future. She will wait patiently.
Grateful you are being careful and kind to yourself! We simply cannot do without our Ross! Lots of love from Mississippi (and gratitude that you get it done right!)
Ross, what is your method of stripping? I’m curious if that’s the reason behind the blotchyness?
I’m seeing vertical stripes. Are there two different types of wood there, alternating?
Hi, E.S.!
It’s one wood. Two patterns. One is smooth, the other is, ahh, curvy.
Highly recommend wood conditioners Ross, hope you heal up soon!
From the Internet:
Re: Blotchy shellac colour coat
Just make a pad and load it with alcohol. You will be able to remove the color coat this way. Then reseal with blonde and re-apply the color coat.Oct. 26, 2013
Blotchy shellac colour coat – Mandolin Cafe Forum
Thanks, Terry! But…what’s blonde?
https://homesteadfinishingproducts.com/products-we-offer/finishes/shellac/
Shellac comes in different shades from almost clear to very dark. I buy the flakes in the shade I like and then add the alcohol to make it into a liquid. That way I can control exactly how dark and how thick I want it. It’s also cheaper to buy the flakes and do your own mixing that way. They never go bad and you can always revive what you’ve previously mixed with some more alcohol. I only did furniture so a small bag goes a long way, but it can be bought in larger amounts.
Blonde is one of the lighter shades of shellac.
https://www.shellac.net
https://www.thesprucecrafts.com/get-beautiful-woodworking-finishes-with-shellac-3536494
http://amatuer-woodworker.com/finishes/french.html
https://www.instructables.com/French-Polish/
Remember that the name of your blog is “Restoring Ross.” That not only means that Ross does restorations, but that sometimes Ross himself needs to be restored. Take your time and take care of yourself!
Ha! You’re quite right, Brian!
I had this issue in my 1914 house. the original finish was amber shellac over southern yellow pine. My solution is to use a pre strain conditioner, then a coat or two of custom made color matched stain, then 5 coats of amber shellac. I use an artists brush and color matched flat paint to touch up any little spots, filler nail holes, etc. after the first coat. I also “sand” between coats with 0000 steel wool and a tack cloth.
For the custom matched stain, I took a piece of wood with the color I wanted and had them match it. It does wonders to even out the tone and patina so it looks evenly aged.
Give oxalic acid a try- 1st remove all previous finishes on the wood, then you mix the oxalic acid powder up with water according to instructions and brush or wipe on. You can apply it more than once on the blotches if they persist. If you try it I hope this works, this seems like the perfect application for it!
Link (any brand will work): https://www.amazon.com/s?k=oxalic+acid&ref=nb_sb_noss
Rest up, you old fool! (I can say that, because i think we’re the same age.) Picture yourself finally moving into the house with one leg and one peg. ‘Nuff said?